
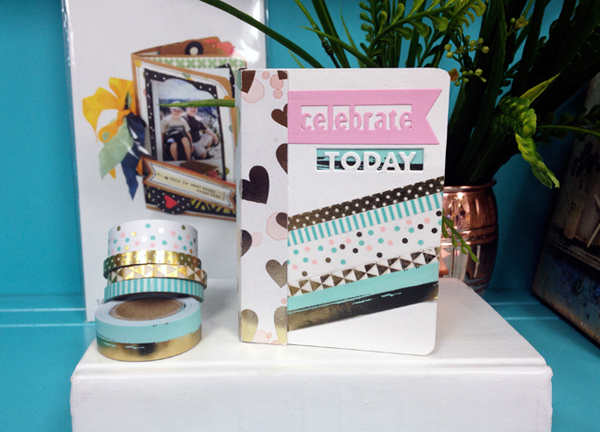
Welcome to the Designer Crafts Connection project for March featuring my Blanket Stitch Binding Mini Book video tutorial. I made two different mini books for this post. One is a Sizzix video tutorial of a pink and aqua mini book version to show how to do the blanket stitch binding and die cut trifold pages. The second project is a Springtime mini book for the Designer Crafts Connection Link up. Two projects that look very different but use the same technique.
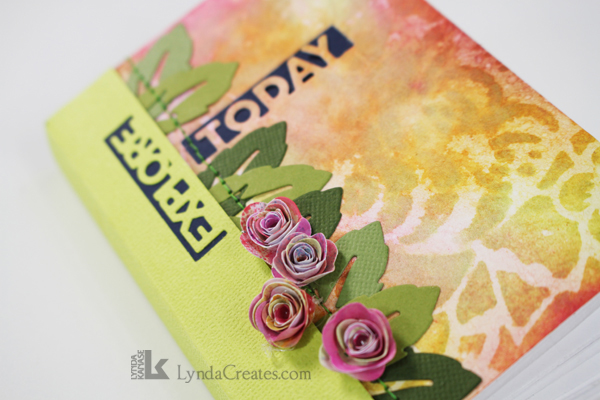
Above is the Springtime version to show a totally different way to embellish this mini book. The description on how I embellished the cover can be found below in the second section of this post. But first I will show how to create the Basic Mini Book in this video.
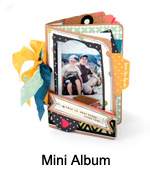
The mini book is created using my Mini Album die by Sizzix. The die will cut the inside pages of the mini book and the cover is linked here as a free sizzix_mini_book_cover_template . 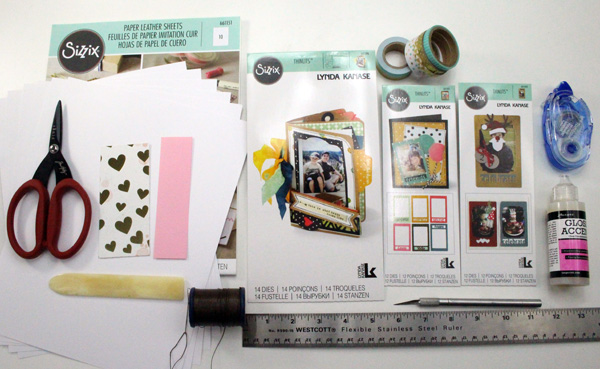
The video explains the supplies you will need but I would like to suggest using the Tim Holtz Craft Thread for the binding. I will list the supplies below.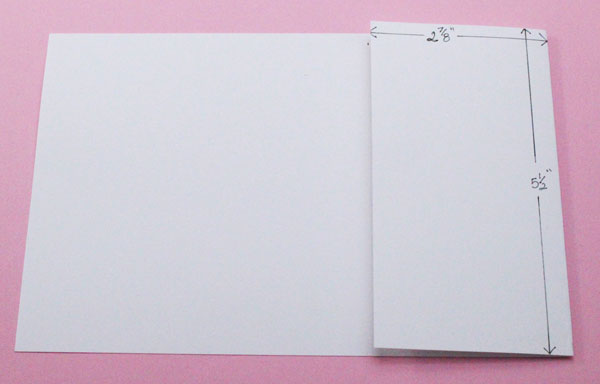
In case you want the measurements to cut the trifold page after viewing the video, I’ve shown it here.
Embellishing the Springtime Mini Book
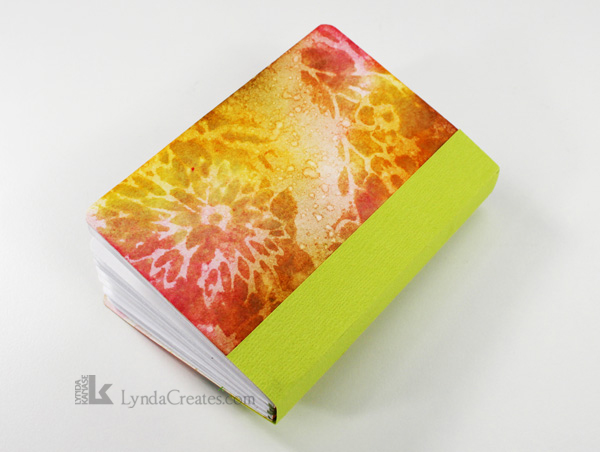
Once you’ve learned the basics for making a Blanket Stitch Binding Mini Book, you can play with embellishing the cover and pages. Here is how I created my Springtime mini book cover.
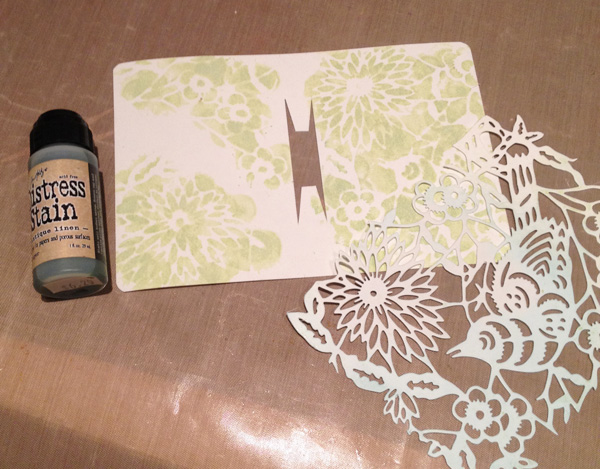
The template to make the book cover and spine is a downloadable PDF in the link either near the top or bottom of this post. Like the basic mini book, I cut the cover out of Sizzix Paper Leather. I die cut the Tim Holtz Paper-Cut Bird out of Yupo paper and used it as a stencil with Distress Stain in Antique Linen.

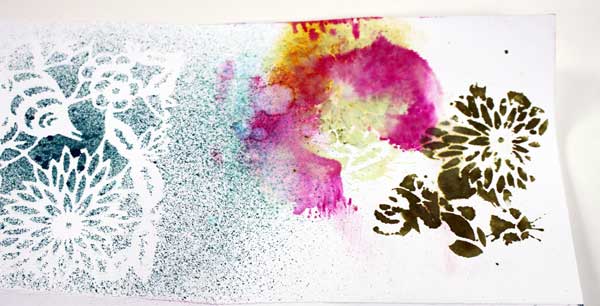
I added Distress Inks in Spiced Marmalade, Picked Raspberry, Peeled Paint and Wild Honey and then sprinkled water droplets before heat drying.
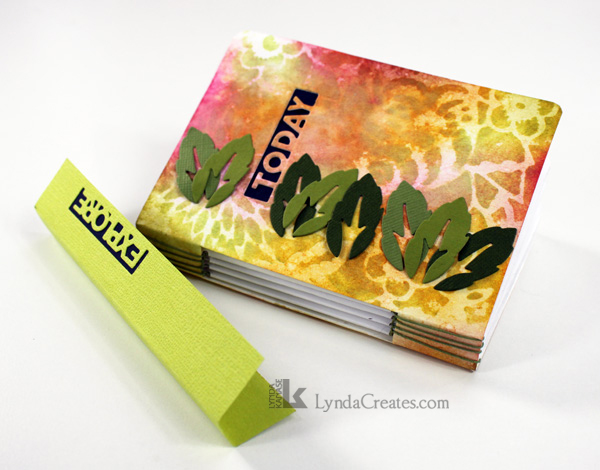
I die cut the words “Explore” and “Today” into the spine and cover and layered a piece of dark blue cardstock behind for contrast. I used the blanket stitch binding technique to attach the pages to the spine. The instructions are shown in the video above. I die cut leaves from the Sizzix Banner die set to add to the cover.
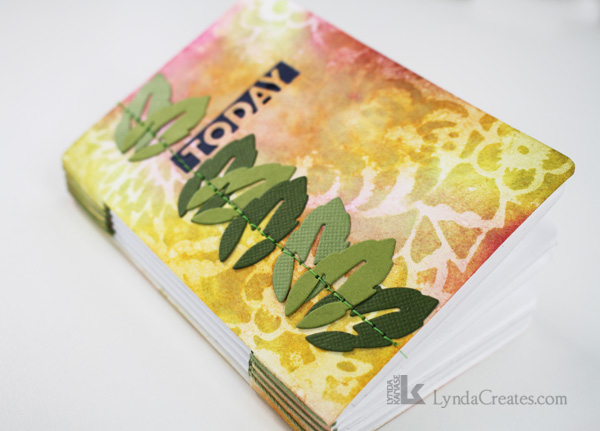
I stitched the leaves in place with a sewing machine before gluing the spine onto the cover.
I wanted to add some mini flowers and noticed that I had a piece of paper that I had used to experiment with the Distress Ink colors. I used the floral rosette die from the Paperclippable die set and cut four flowers out of the pink area in this scrap of paper.
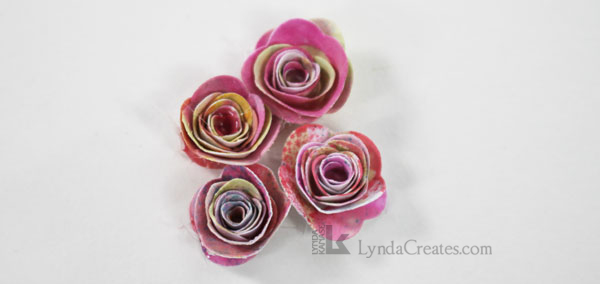
Here are the four mini flowers. My Mini Photo Embellishing dies are perfect Stash Busters because they make wonderful embellishments out of scraps.
This shows the back of the mini book.
Download the sizzix_mini_book_cover_template here.
If you liked this project tutorial, please sign up and Follow my Blog for the latest updates. And please check out all of the other Springtime inspired projects at the Designer Crafts Connection website.
This is Linked to:
A Delightsome Life, Architecture of a Mom, Artsy Fartsy Mama, Blogghetti, Crafts a la Mode, Create With Joy, Creating My Way to Success, Denise Designed, Designer Crafts Connection, DIY Showoff, Feeding Big, Five Kids, a Dog and a Blog, Funky Polka Dot Giraffe, Gingersnap Crafts, I Should be Mopping the Floor, Keeping it Simple, Live Randomly Simple, LouLou Girls, Mad in Crafts, Mom Home Guide, My Uncommon Slice of Suburbia, Nifty Thrifty Things, Our Daily Craft, Our Hopeful Home, Practical Mom, Recreated Designs, Sew Can Do, Simon Says Stamp, Sugar Bee Crafts, The Answer is Chocolate, The Crafty Blog Stalker, The DIY Dreamer and Twelve on Main
![]()


Affiliate Links: By clicking on and purchasing through my links, a small portion of the sale price goes towards supporting this site at no additional cost to you. Thank you for your support.


Leave a comment