
Assembling a Japanese Rice Bag with Vintage Fabrics – Part 2

Skill:
Easy
Category:
Sewing
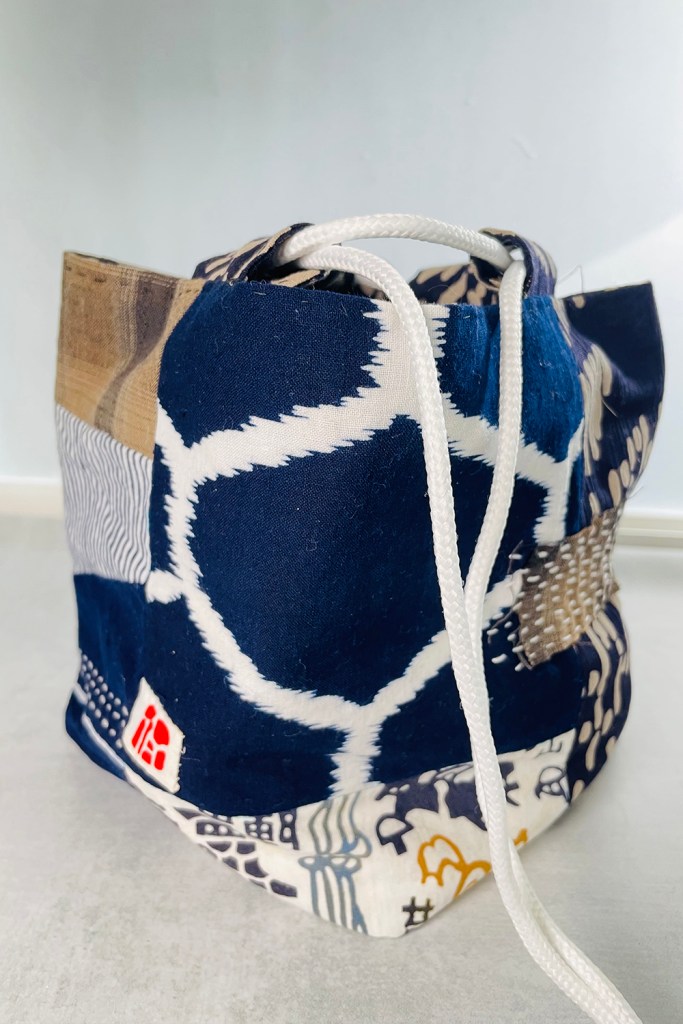
Assembling the Japanese Rice Bag
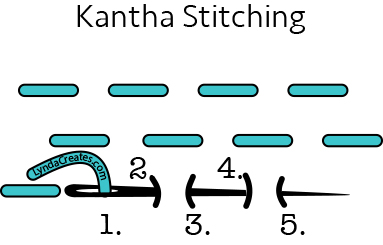
In Part 1 of my Japanese Rice Bag tutorial, I showed you how to piece together thrifted and vintage Japanese fabrics and then use Boro Stitching / Kantha Stitching to add interesting textures. In Part 2, I show you how to bring together all of the pieces to create this beautiful and delightfully handy bag.
This bag has a lot of meaning to me as a stitcher of Japanese-American heritage. I was thrilled to include a piece of fabric that I inherited from my mother as well as rediscovering the classic beauty of Japanese fabrics.
I also discovered how quick and simple it was to stitch this rice bag. I hand=stitched this bag but it would come together so quickly if you used a sewing machine. This bag pattern was based on something I found online a long time ago. I apologize that I cannot track down the original source.
There is still so much more to stitch and discover. Please join me in this creative journey and let’s make something beautiful together!
TOOLS
- Embroidery Needle
- Scissor
MATERIALS
- Cotton Cord: 3/16″ diameter
- Thread
- Fabrics: various pieces for outside of bag – see dimensions in Part 1
- Fabric for lining: 1/4 yard
- Interfacing: Pellon Midweight Interfacing or similar – 2/3 yard
- Cotton cord 3/16″ diameter: 2 yards
- White Crochet cotton: size 8


Boro or Kantha Stitching


Leave a comment