
Preparing the slow stitch notebook cover, part 2
Skill:
Easy
Category:
Slow Stitching
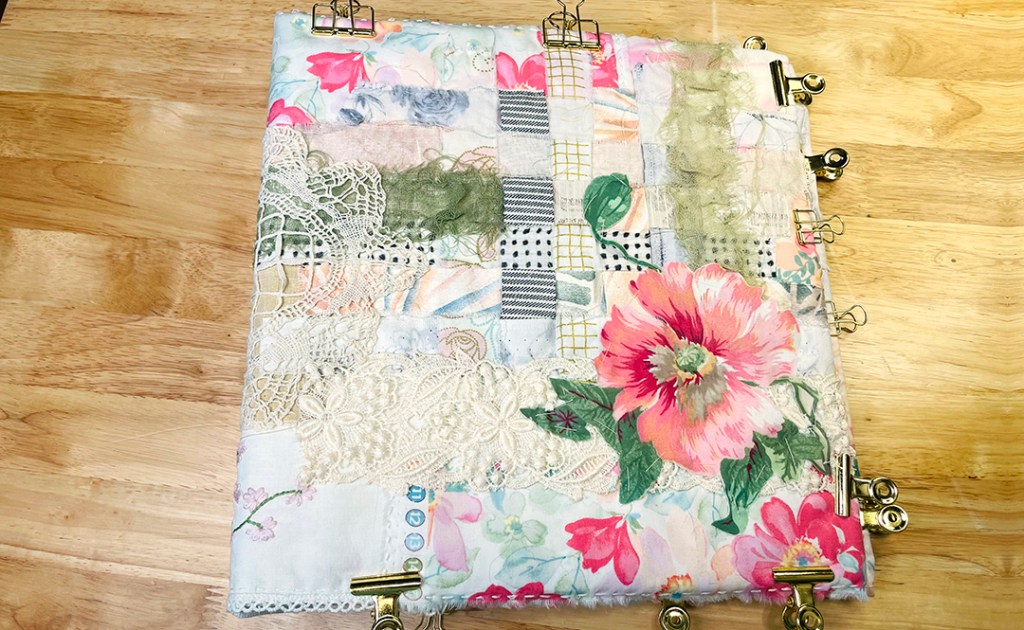
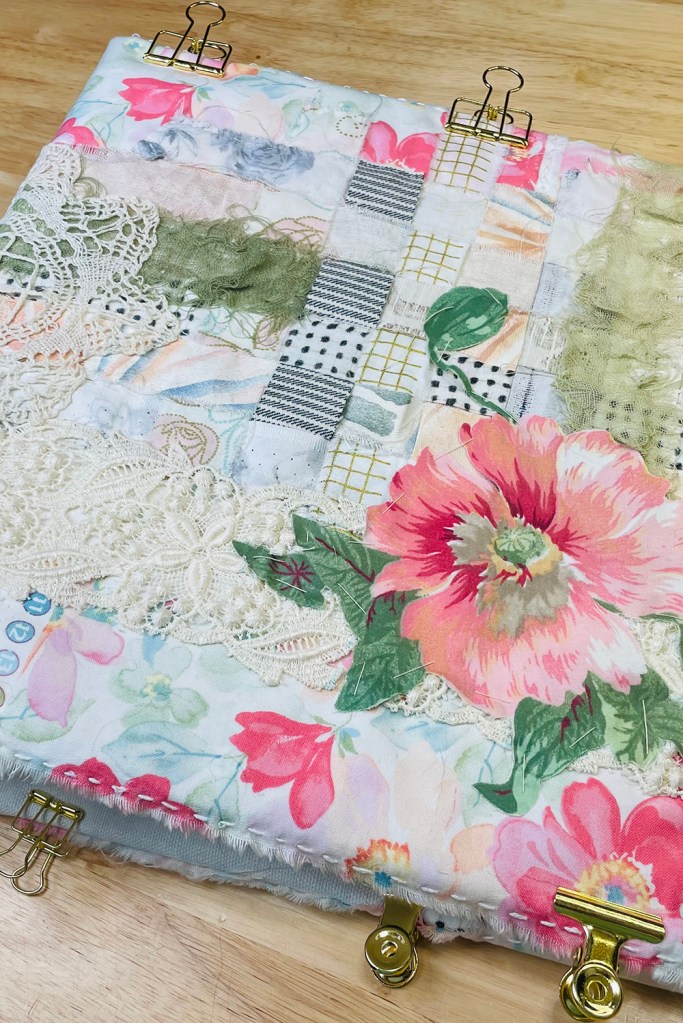
Stitching the Background Fabrics to Prepare for the Slow Stitch Notebook Cover
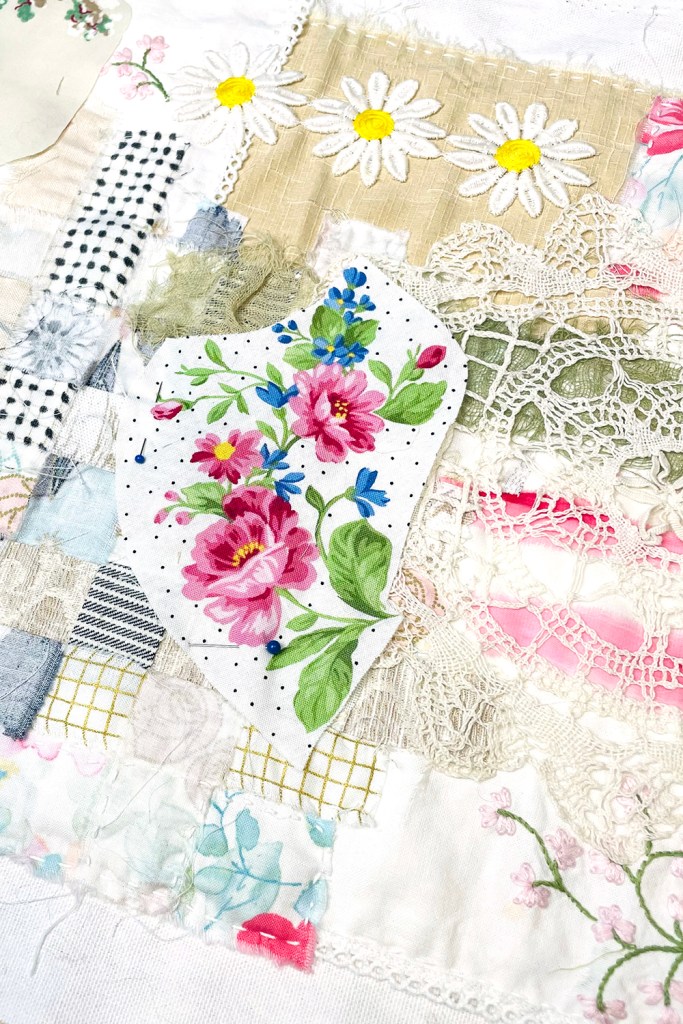
Discover techniques on how to design and attach beautiful layers of thrifted fabrics and lace as you prepare to start slow stitching in this second part of our Slow Stitch Notebook project. This tutorial is perfect for anyone interested in non-structured fabric and thread techniques, blending creativity with sustainable crafting.
If you are already familiar with slow stitching then follow along for more inspiration on what you can do with all of the beautiful projects that you have already created. In Part 1, I showed how to measure and prepare the fabric that will eventually become the Slow Stitch Notebook cover. Now in Part 2, I show how to arrange and attach the fabrics and prepare the cover for slow stitching. Slow stitching offers a mindful, artistic approach to crafting with fabric and thread, allowing you to create one-of-a-kind pieces using upcycled materials.
Whether you’re new to thrifting or an experienced crafter, this project provides inspiration and practical tips to incorporate into your slow stitching journey. Join me and elevate your crafting skills today!
TOOLS
- Notebook: 3-ring binder
- Needle Puller
- Embroidery needles
- Pins
- Scissors: I used a Non-Stick 7 inch Micro Serrated Scissors
MATERIALS
- Fabrics: Background fabric enough to cover notebook, scrap fabric for embellishing
- Flannel or felt
- Doilies and lace
- Thread
- Gauze (optional)

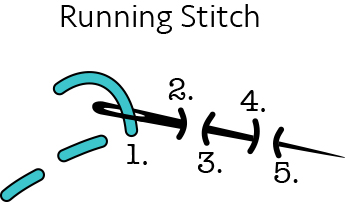
Running Stitch
Affiliate Links
As an Affiliate of Amazon and others, I may earn a small amount from each purchase using these links at no additional cost to you. Your support of this channel is greatly appreciated.


Leave a comment