
Stitch Your Stamps – Mixing Stamping With Embroidery
Skill:
Medium
Category:
Embroidery
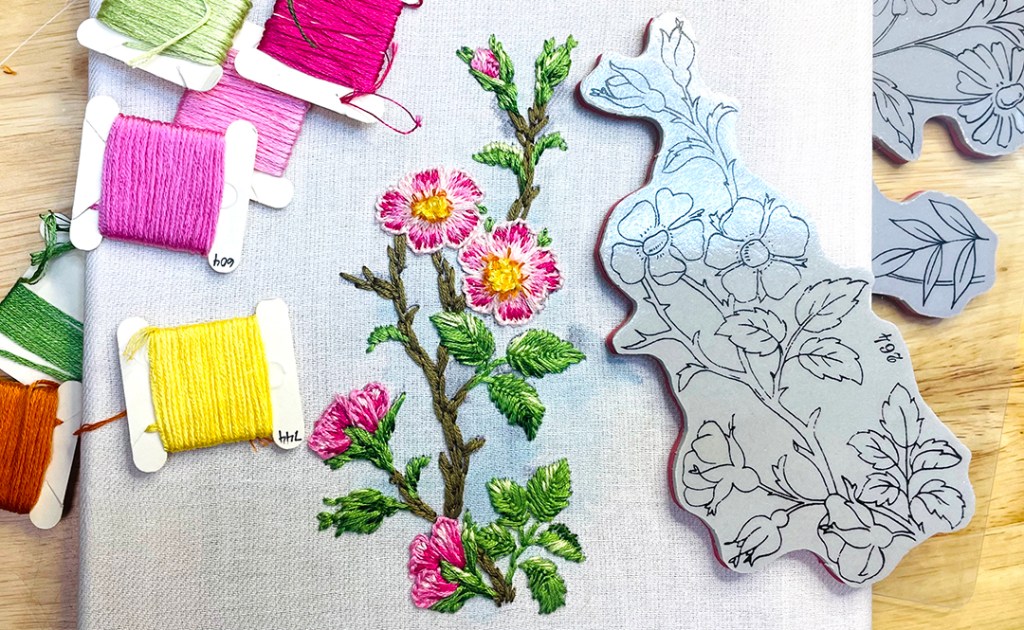
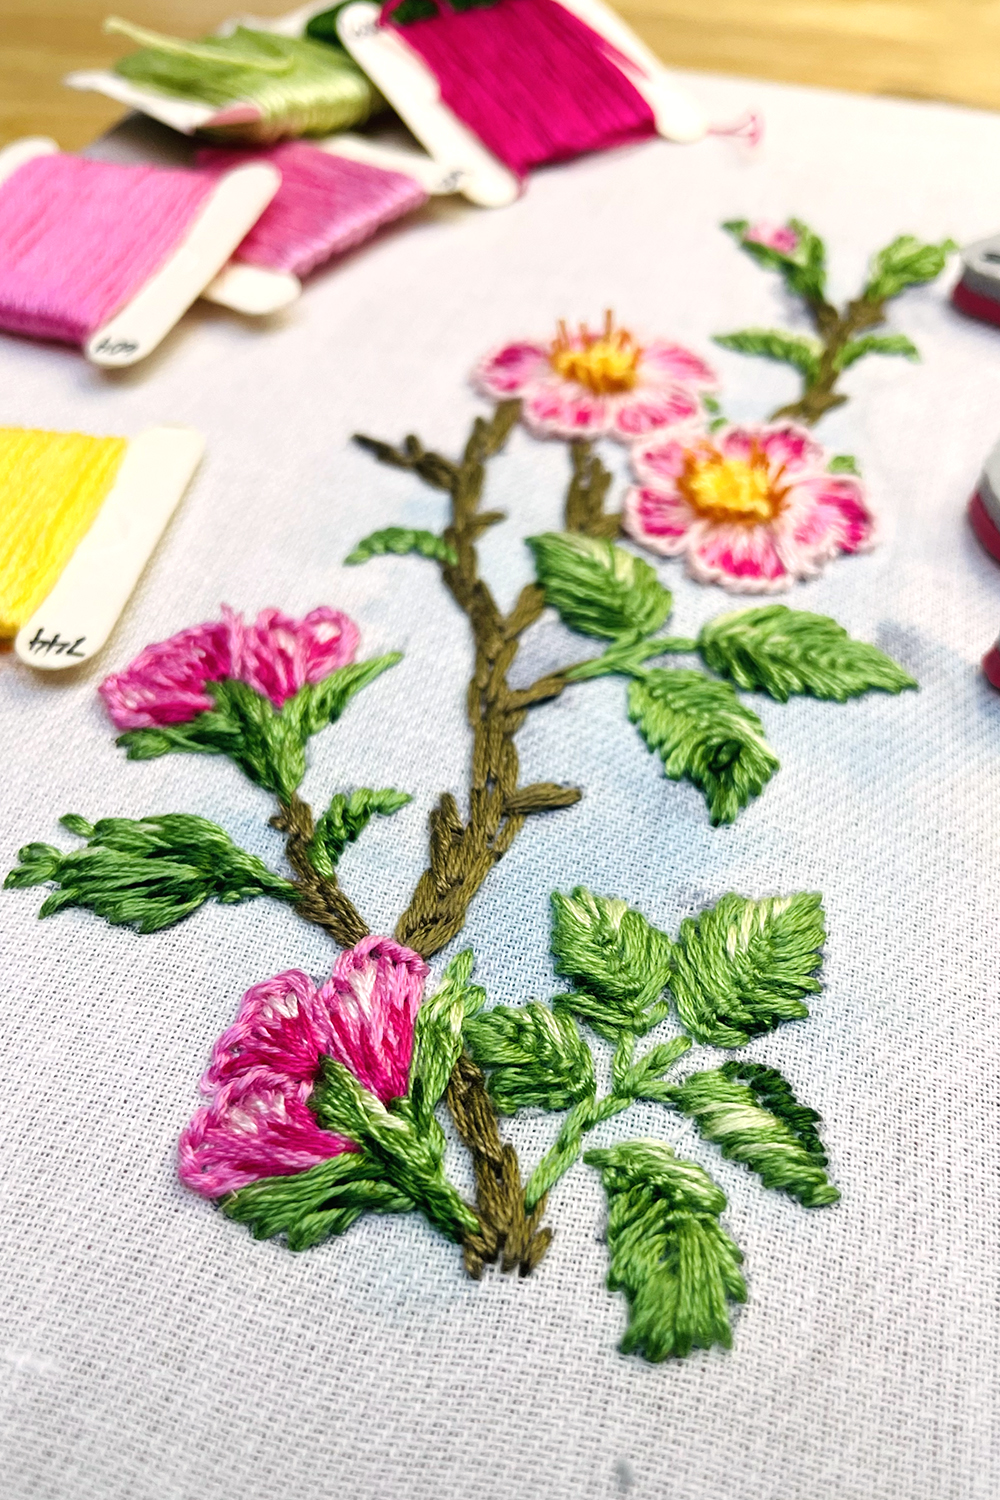
Stamping and Stitching Tim Holtz’s Embroidery Stamp
I always think of September as “Stamptember” so I have been having so much fun preparing for this month. I have discovered how easy it is to stamp on fabric and then embroider the design, or as I like to call it “Stitch Your Stamps”. I never knew it could be this relaxing and easy. Now fast forward to my discovery that Tim Holtz actually came out with a stamp called “Embroidery”! It was meant to be!
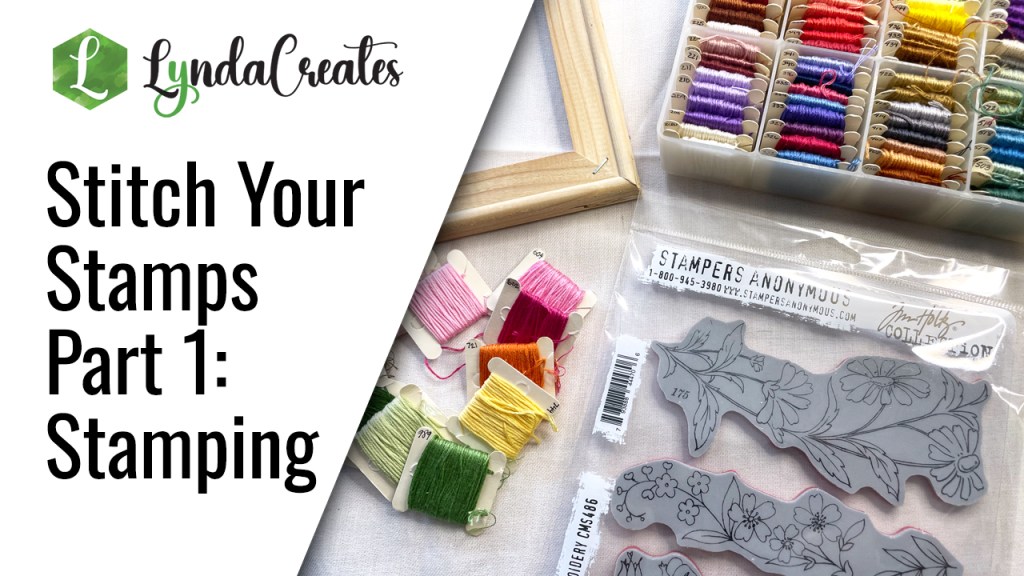
I had to make this into two videos because the first part, stamping and preparing the fabric had a lot of steps for someone who is new to embroidery techniques. Plus I experimented with adding a wash of color to the fabric prior to stitching which needed some additional explanation.
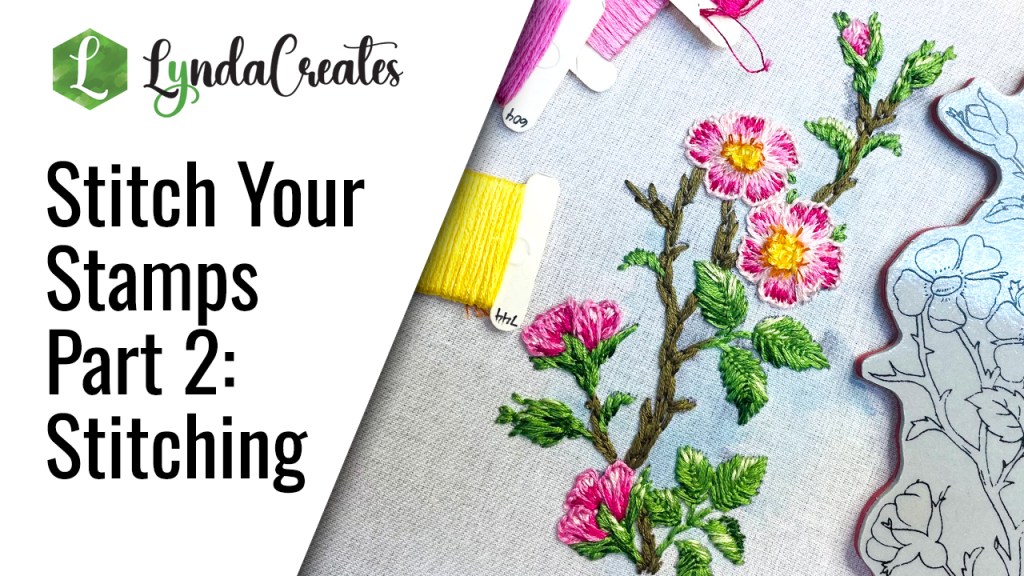
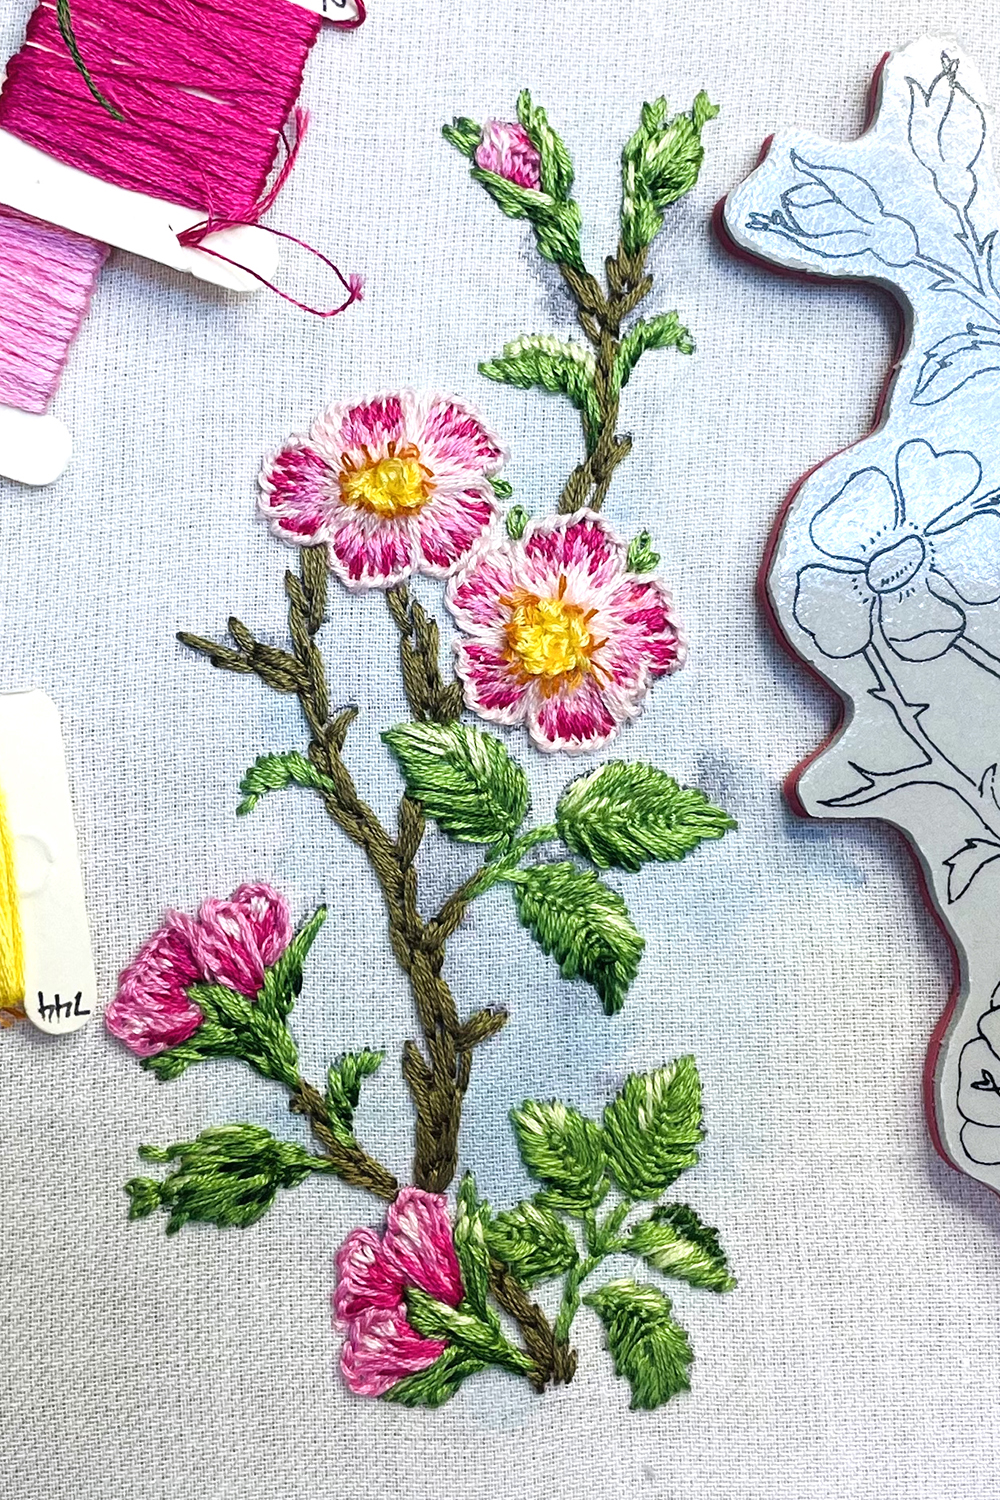
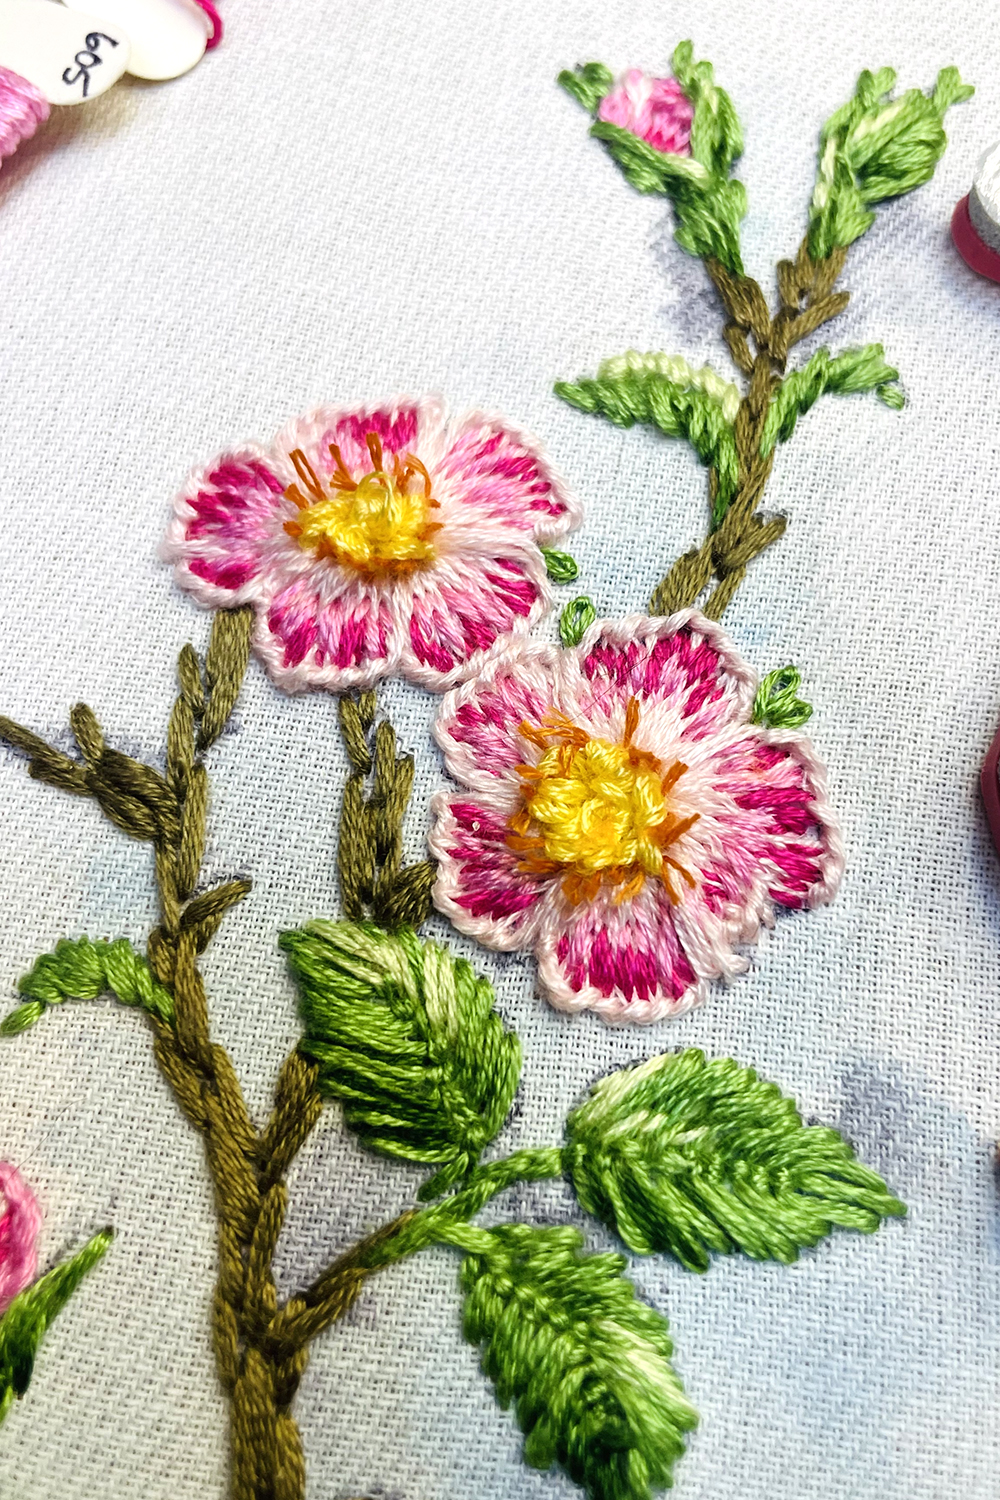
The second video is all about the stitching and discovering how shading with embroidery floss can add so much detail to the finished piece just like coloring with markers.
So I hope you give it a try and discover that it is so relaxing. If you have some stamps that you love then this is just another way to enjoy the design. And if you are an avid stitcher then you might want to discover the huge range of stamp designs available for your next project. Happy crafting!
Stamping and preparing your fabric
learn simple Embroidery stitches
TOOLS
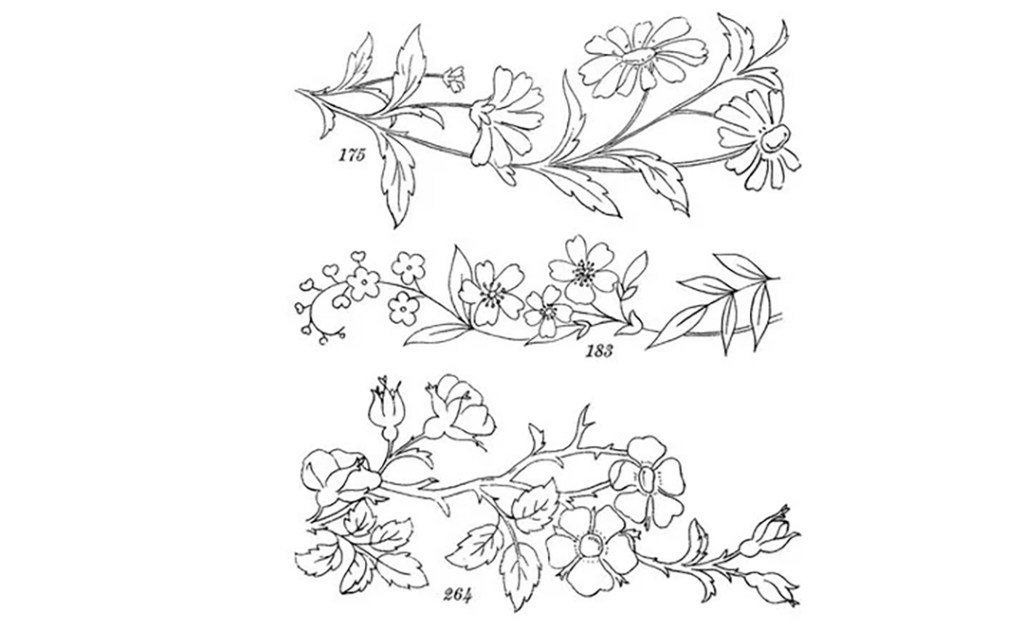
- “Embroidery” stamp by Tim Holtz
- Embroidery needles
- Scissors
- Stamping Block
- Embroidery Hoop
- Paint brush
MATERIALS
- DMC Embroidery floss: 602, 604, 605, 611, 721, 744, 772, 818, 989, 3345
- Fabric – white cotton
- Archival ink – black
- Alcohol ink – Denim, Stonewashed and Sailboat Blue
- Alcohol Blending Solution
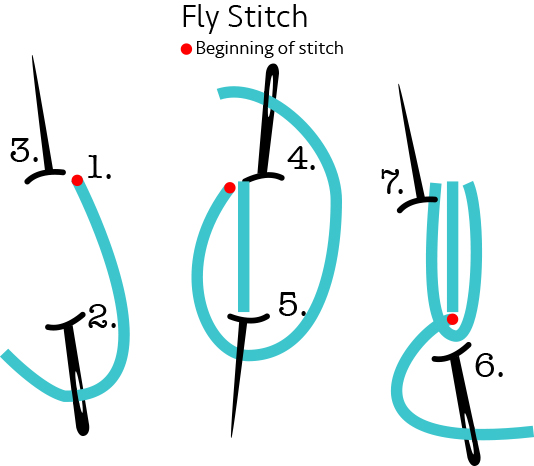
Fly Stitch
Start with a vertical stitch.
Insert needle at 2 and come out slightly to the left at 3.
Bring the floss around and insert the needle at 4 and bring it out at the bottom of the straight stitch at 5.
Secure the looped floss at the bottom by inserting the needle at 6. Bring the needle out at 7 and repeat from step 2.
Blanket Stitch – Modified
Similar to a Blanket Stitch but the stitches fan out at the top.
Bring the needle out at 1. Bring the floss around and insert the needle at 2.
Bring the needle out at 3 and repeat keeping the base (2) close together.
Satin Stitch
A beautiful stitch to fill in solid areas.
Lay the floss down so that there is no gap showing between stitches. Try to keep the floss smooth, without twists.

French Knot
Nice stitch to add texture.
Wrap the floss around the needle several times. Hold the tail flush with the fabric and pull the needle through.

Affiliate Links
SB

SB

SB
SB

SB


Leave a comment