
Spotted Milk Carton
Skill:
Easy
Category:
Boxes | Bags
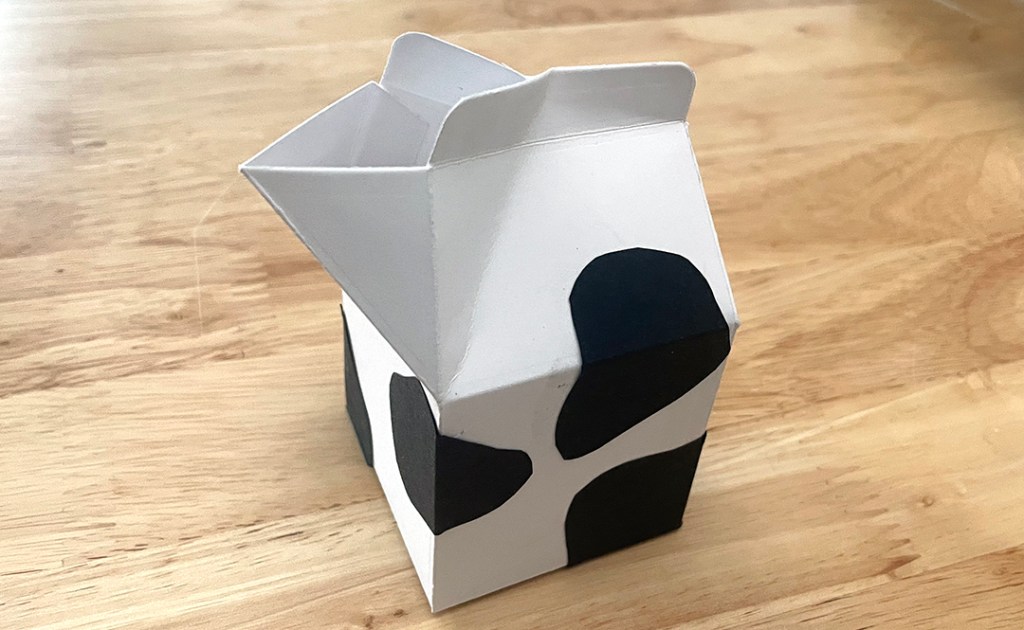
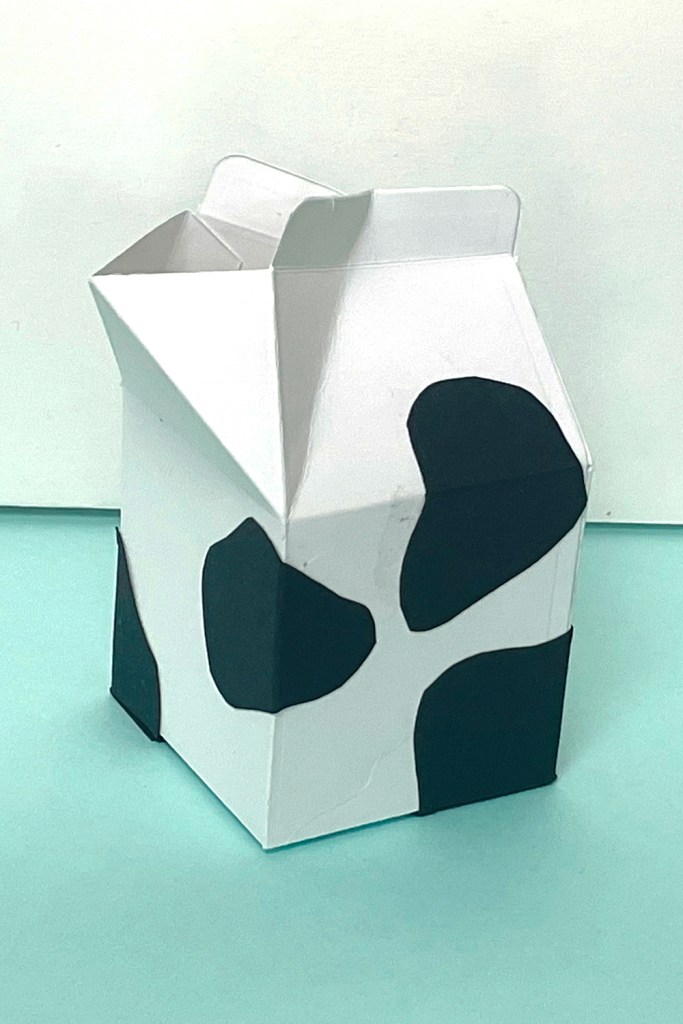
As Cute as a Spotted Cow
Turn our small Milk Carton box into a super cute spotted milk cow-ton. We made it simple with a free, downloadable template to easily make the spots. Hint: fill them with malt balls, Milk Duds or Milky Way Bars.
TOOLS
- Milk Carton
- Die cutting machine
- Scissors
- i-Press Burnisher
- Adhesive
- Printer for the template
MATERIALS
- White cardstock
- Black cardstock
- Printer paper for the template
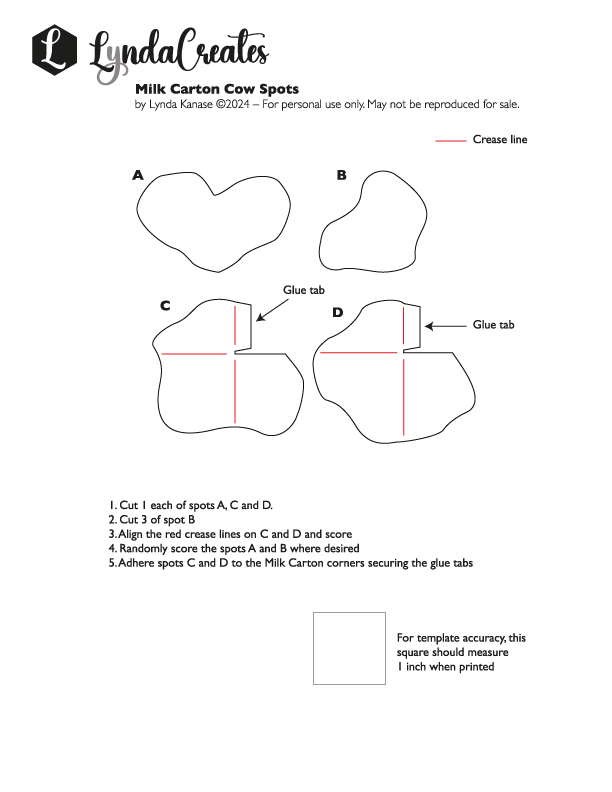
Template Download
Spots
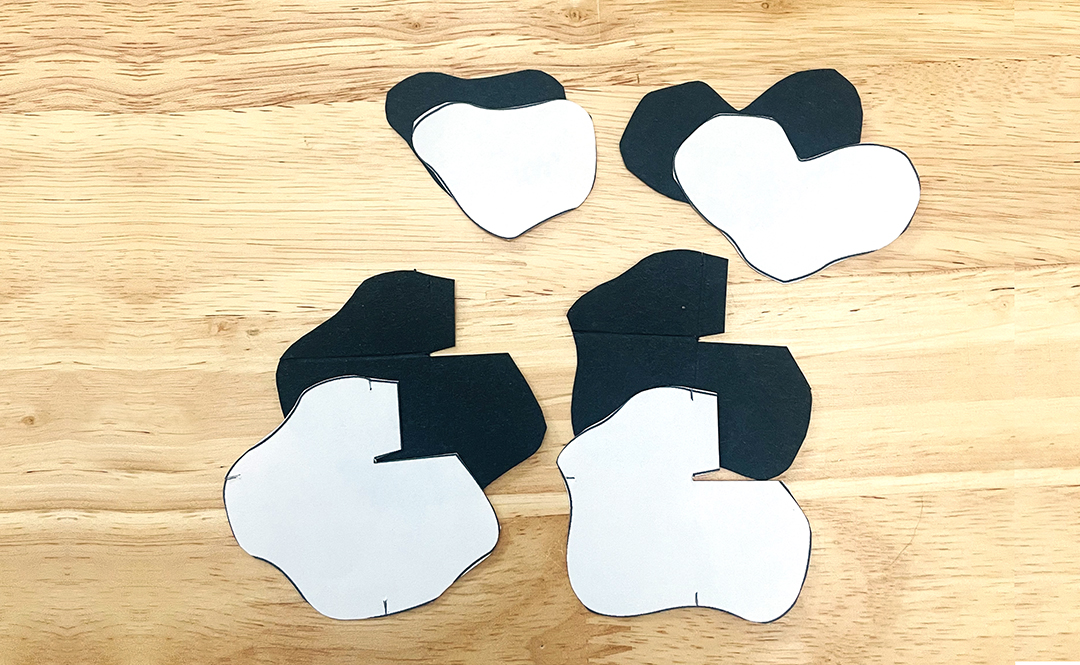
Download and print the Milk Carton Spots template above. Lay the template pieces over black cardstock and hand-cut the pieces as instructed. Set aside.
Milk Carton
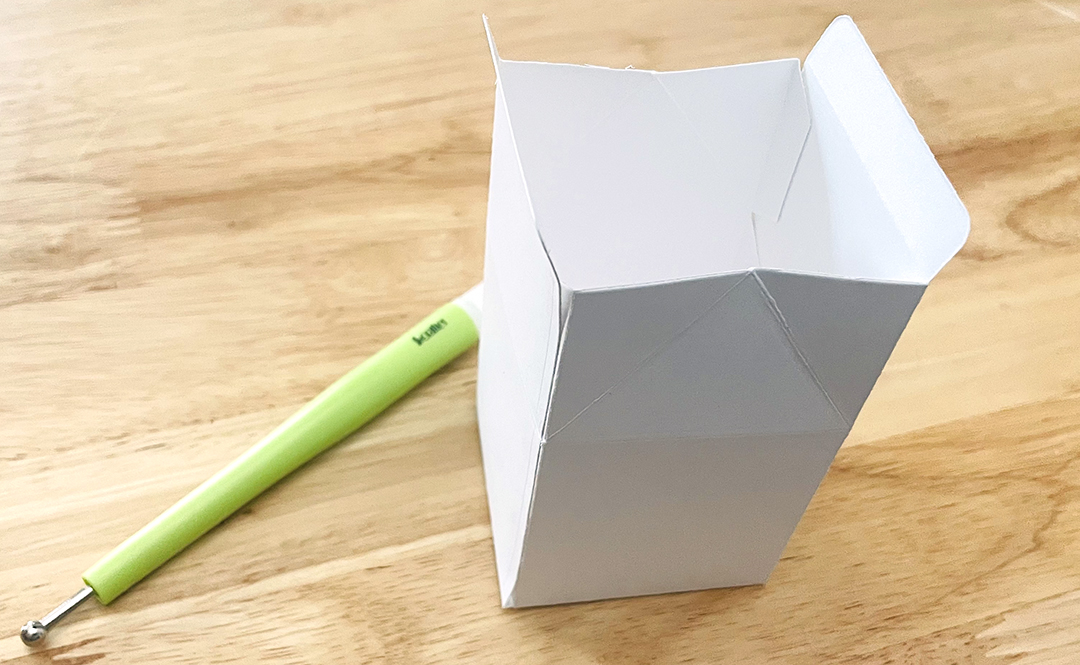
Die cut two of the Milk Carton die shapes. Fold the creases as shown.
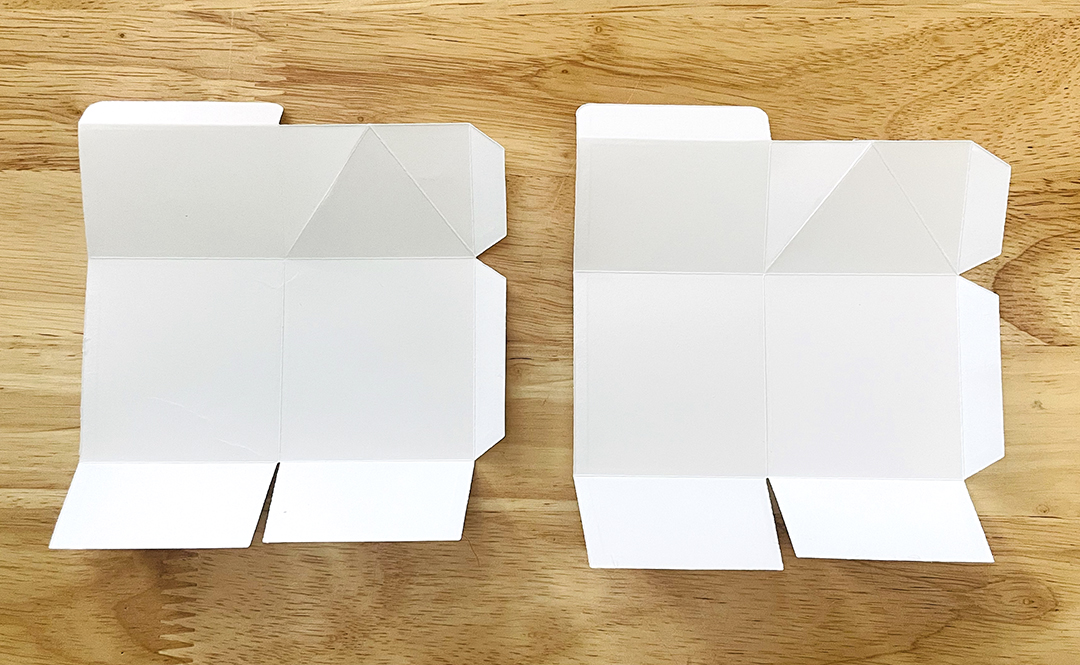
Adhere the glue tabs on the sides to create a tube
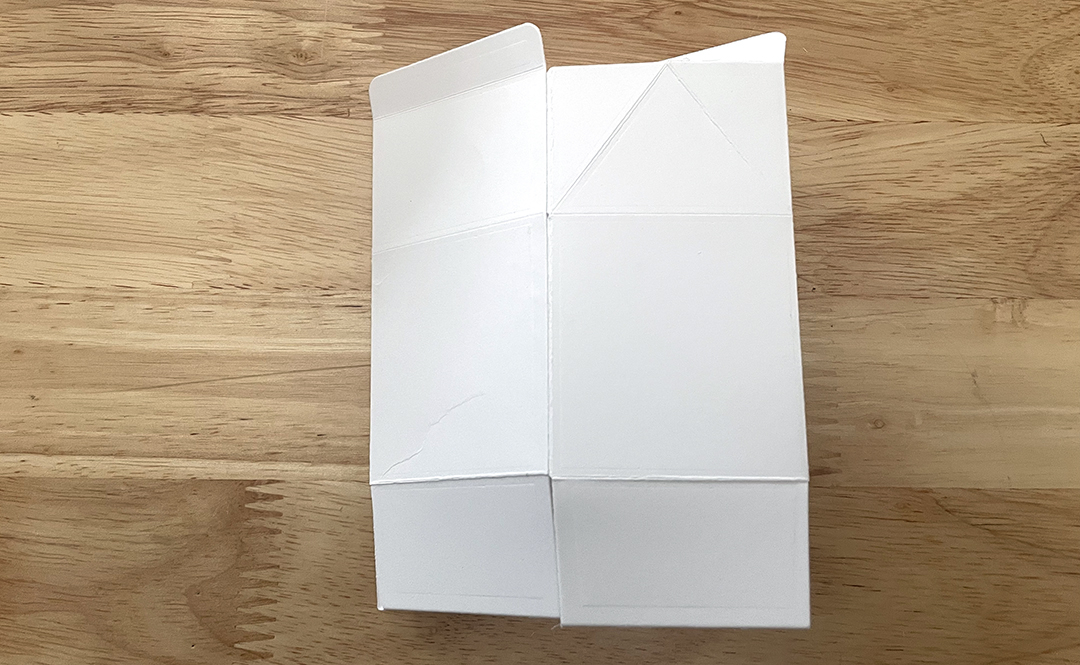
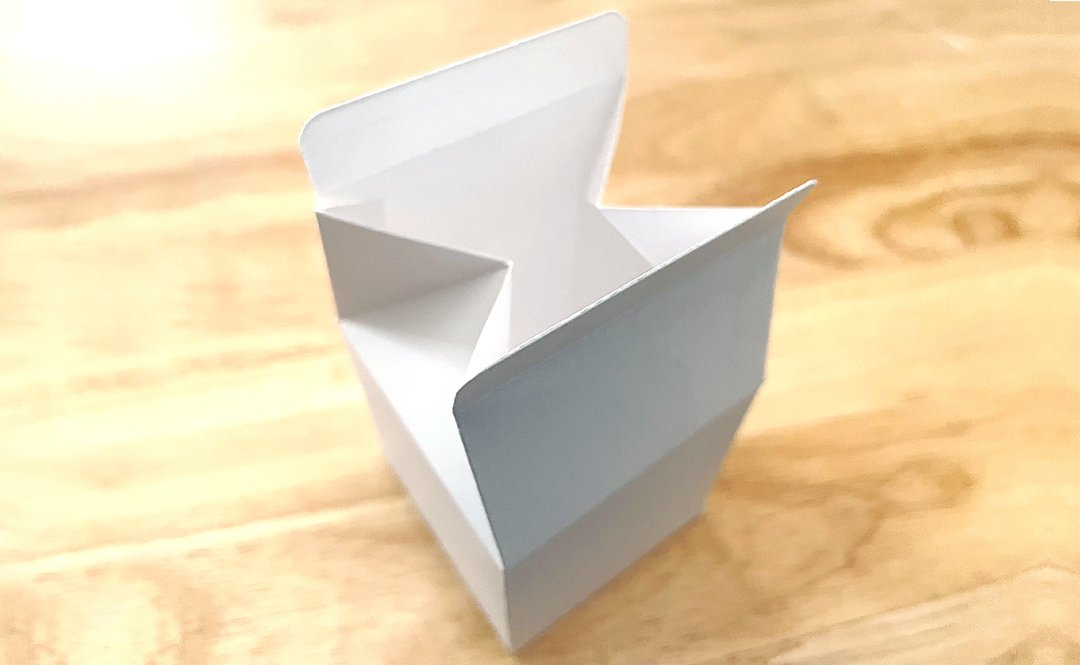
Adhere the bottom tabs. Use the i-Press Burnisher to press down inside the box to secure the bottom flaps
Work the creases on the top to form the milk carton top
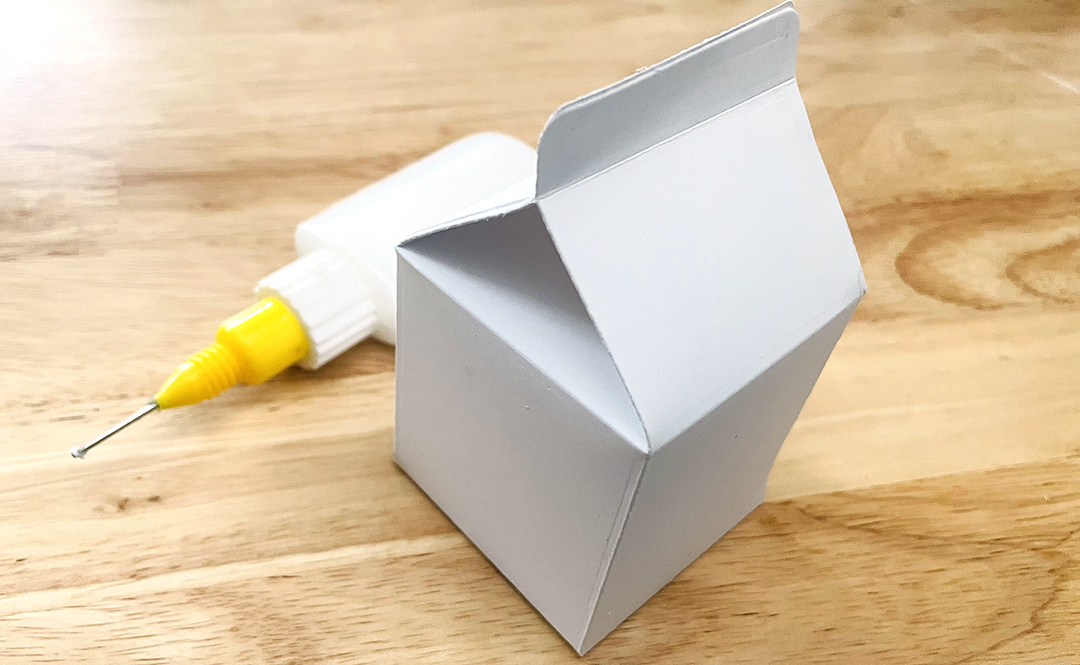
Apply adhesive to half the length of the top flap so that the milk carton can open
Spot Assembly
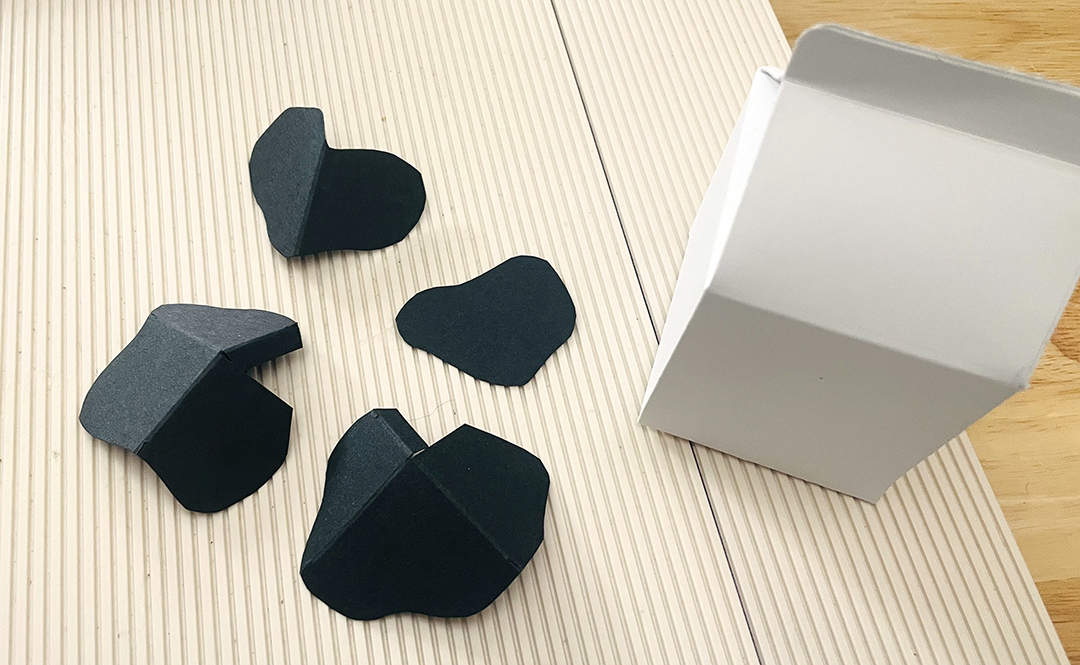
On the two largest spots, add straight crease lines as indicated on the template.
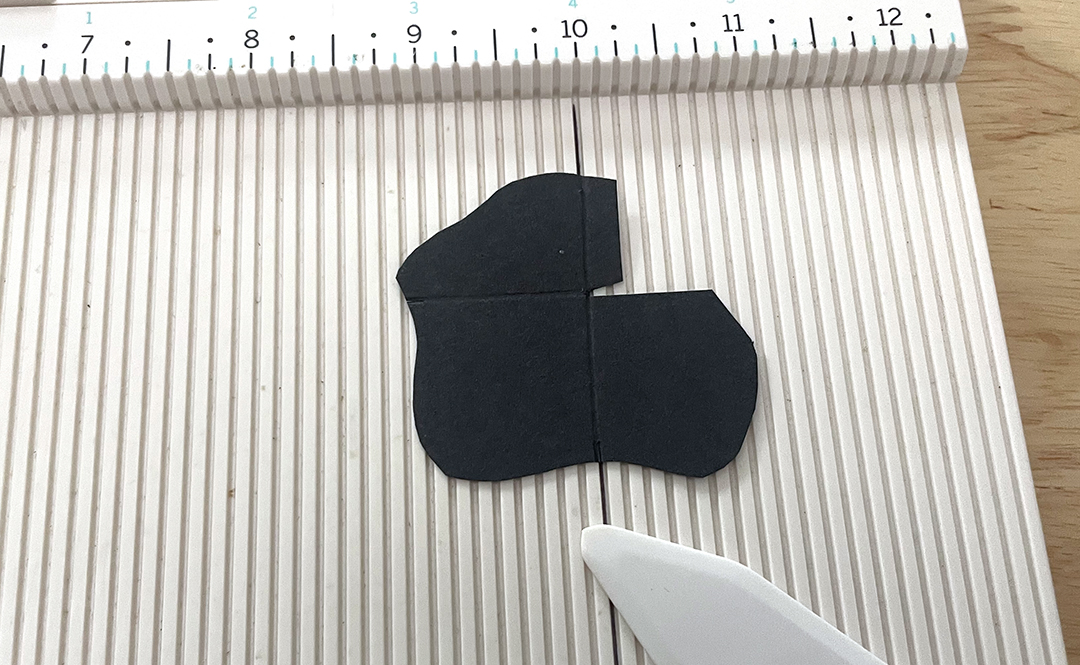
Fold all of the crease lines including the glue tabs. On the two smaller spots, add a random crease line to vary the shape
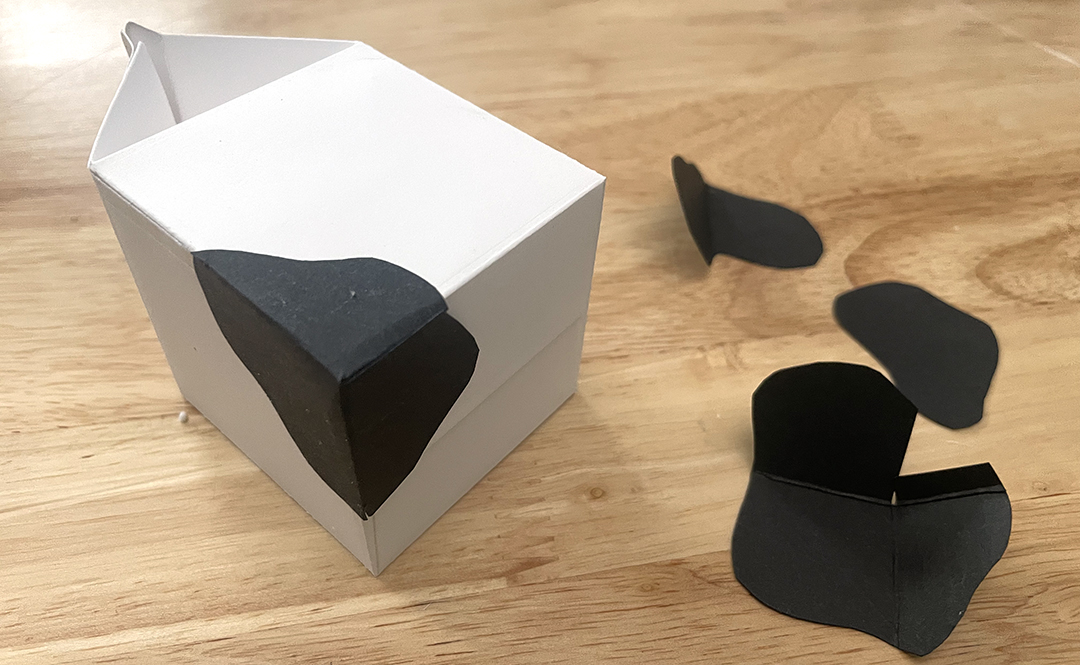
Starting on one of the bottom corners, wrap and adhere one of the larger spots to all three points of the corner. Adhere the glue tab so that it wraps around the corner, Repeat with the second large spot on the opposite corner.
With the remaining smaller spots, fold along the random crease lines and wrap on two sides of the carton.
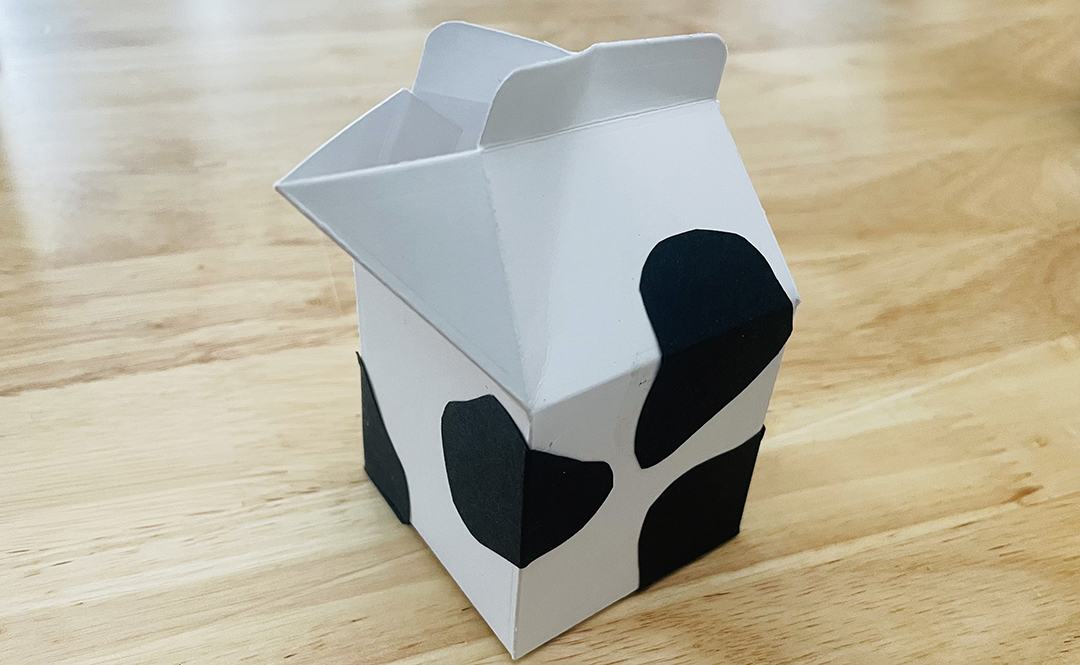
Note that one spot looks like a heart

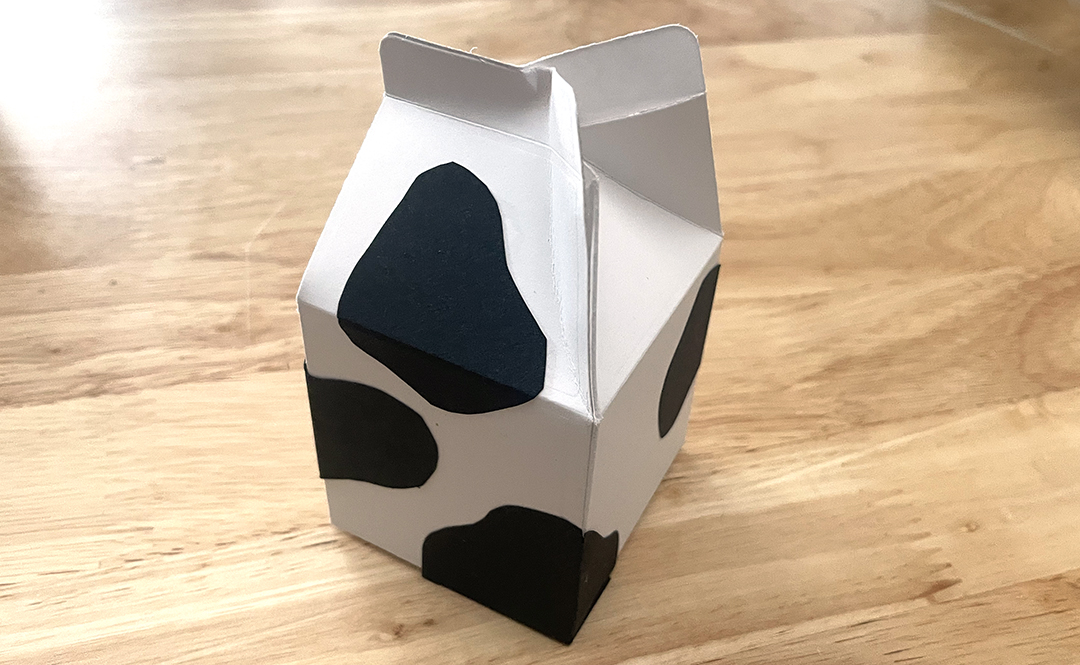
Each carton can be a little different depending on how many spots and where you crease the spots before wrapping.
Enjoy a happy cow milk carton!
AFFILIATE LINK


Leave a comment