
Cute Character Boxes
Skill:
Easy
Category:
Party
Cute Characters
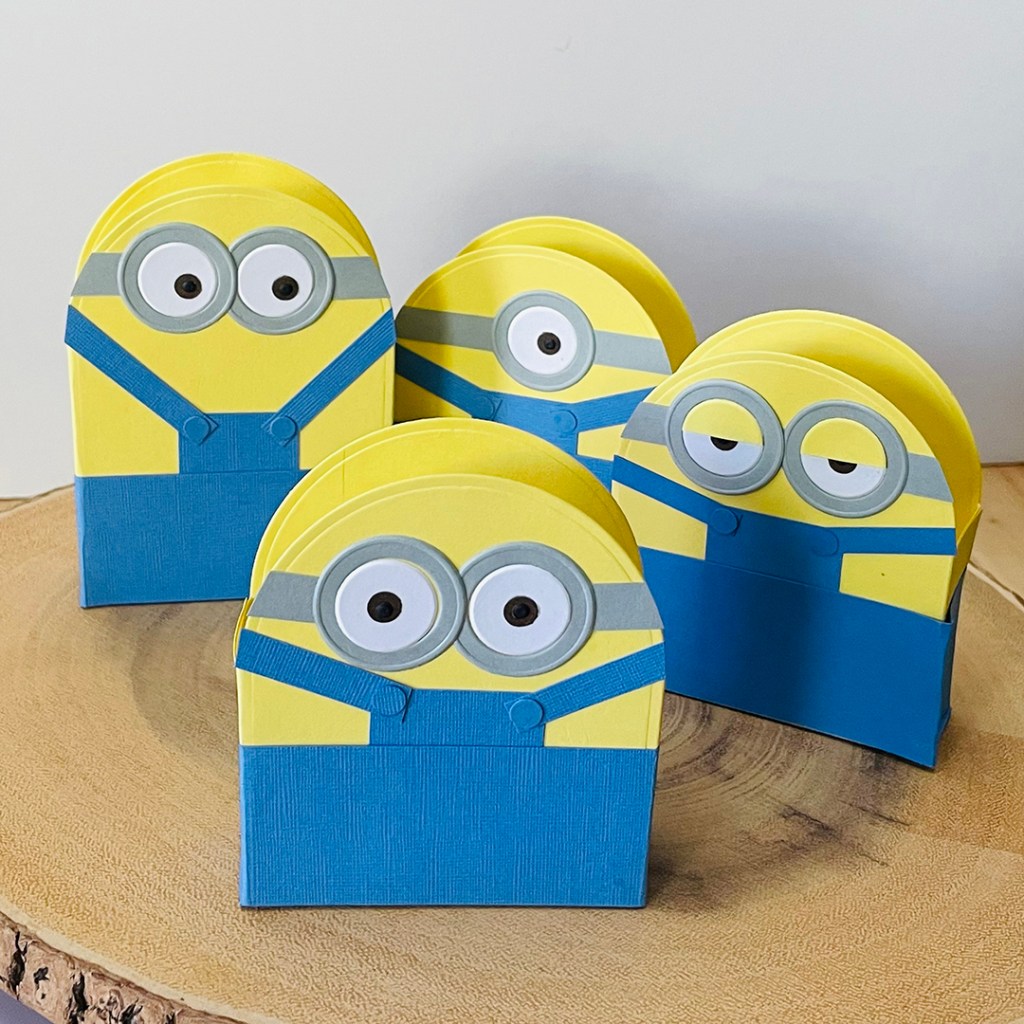
We can’t actually name them but let’s just say they are very cute and there are a lot of them. Invite them to your next party, fill them with treats and hand them out as party favors to the minions that attend. We found lots of ways to add character to these characters that will charm their way into your heart.
TOOLS
- Mailbox Box Card die
- Classic Circles die
- 1/4″ Hole Puncher
- Liquid adhesive
MATERIALS
- Card stock; yellow, blue, white, grey, black, brown
CUTTING
Die cut the two large, yellow shapes from the Mailbox Box Card die by
i-crafter. Die cut the white circles and small black dots from the Classic Circles die by i-crafter. Use a 1/4″ hole puncher to die cut two blue circles and two brown circles
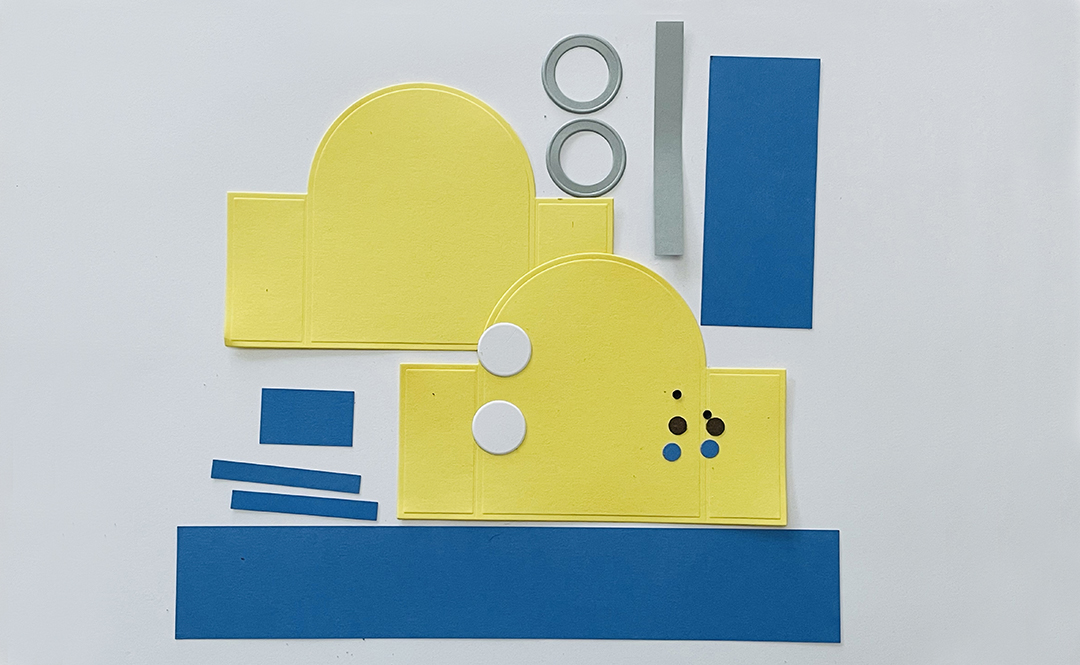
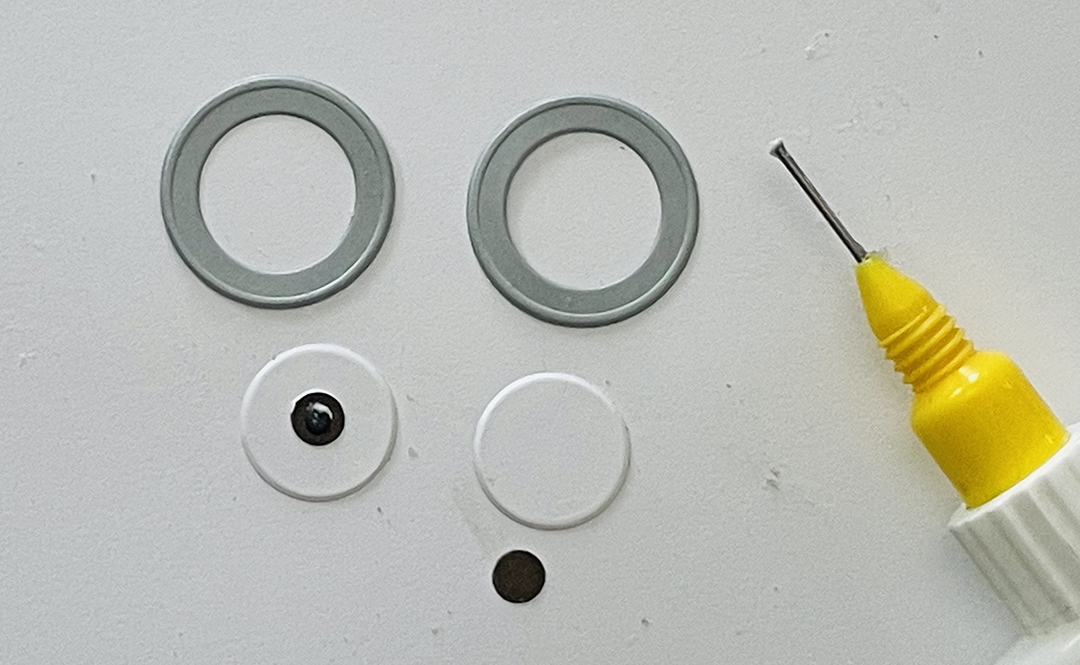
Die cut the grey rings from the Classic Circles die by i-crafter. There are four alignment marks on the back of the circle dies. Align the two smallest circles and hold together with a piece of low-tack tape to die cut the grey rings to make the goggles.

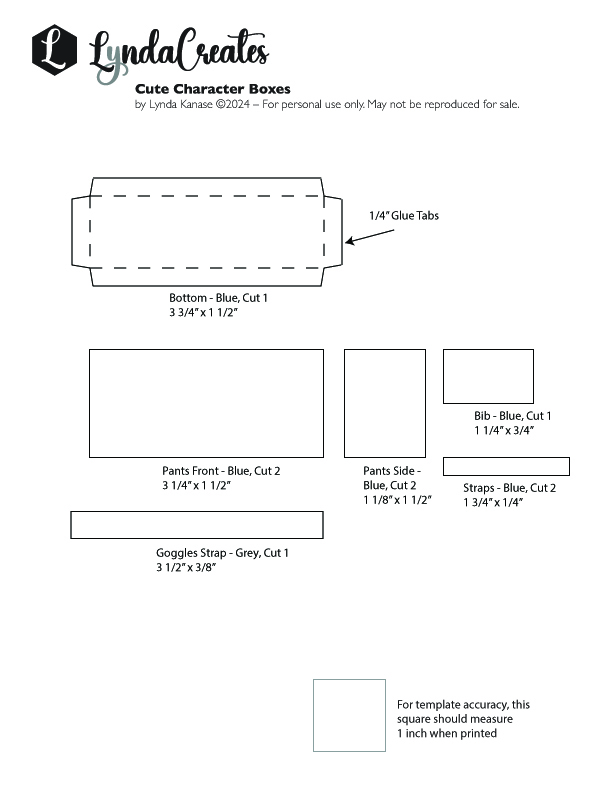
HAND-CUT PIECES
Use the downloadable chart to cut the additional pieces needed
ASSEMBLY
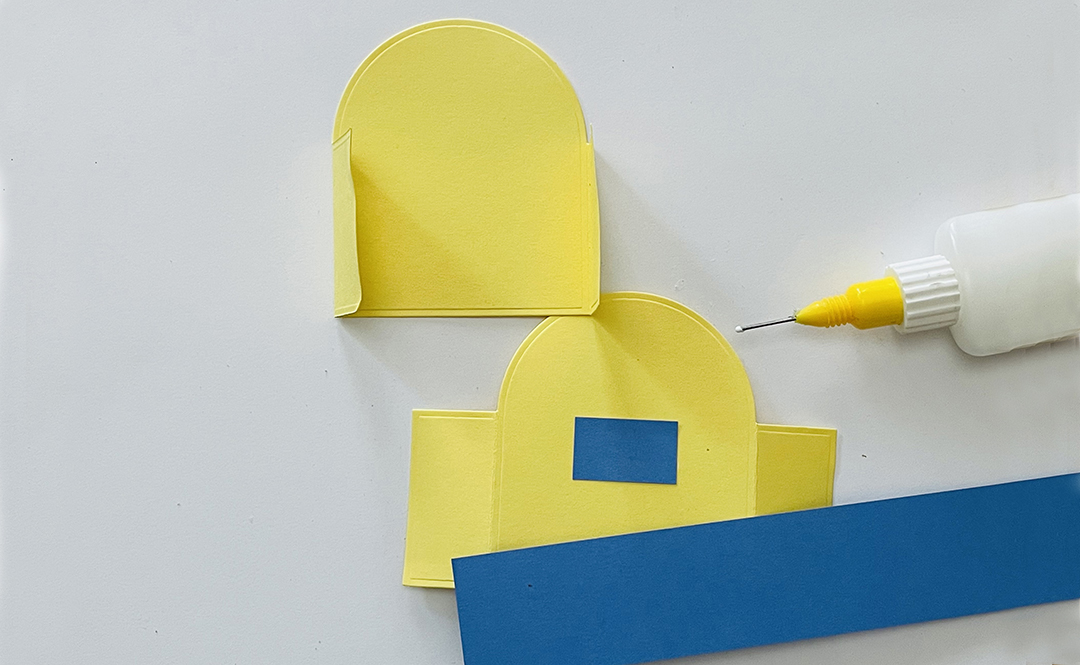
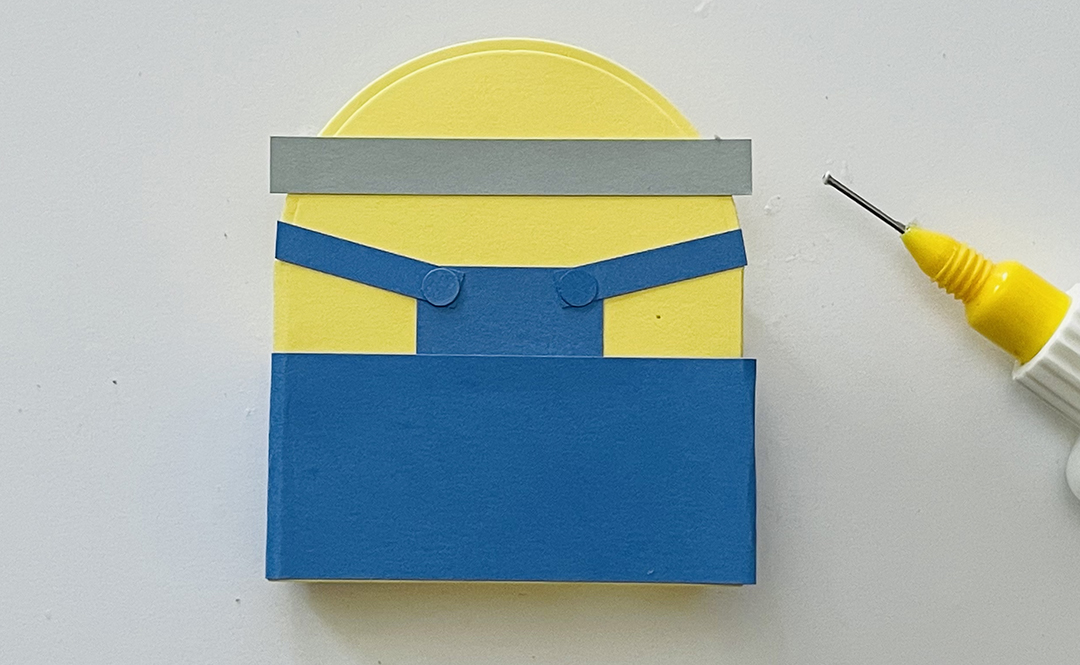
Fold the side tabs on the large, yellow shapes
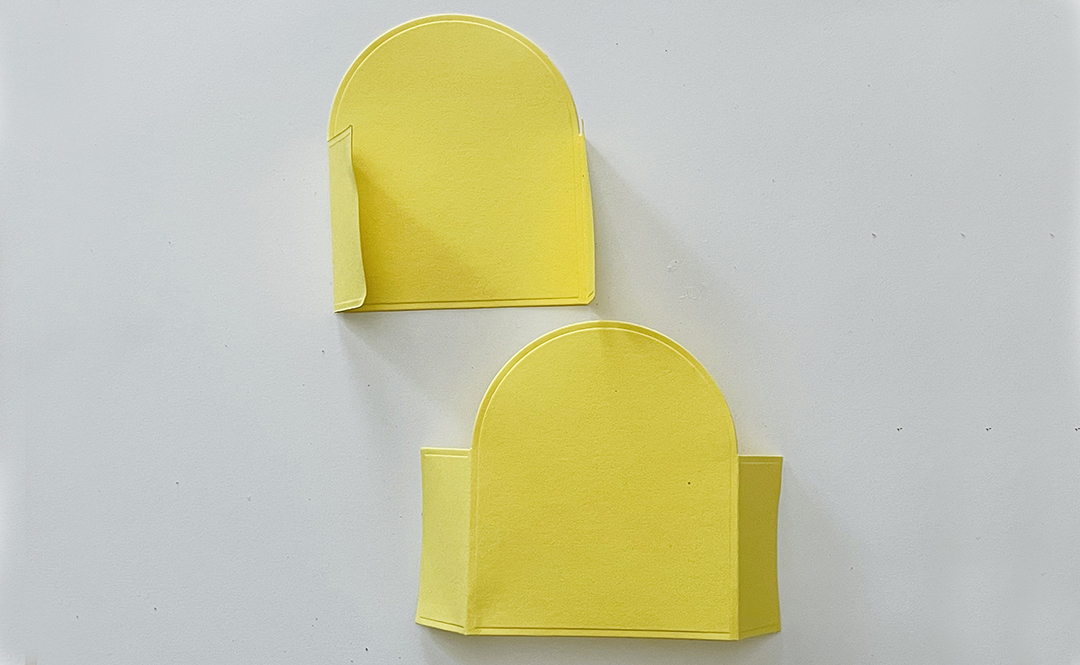
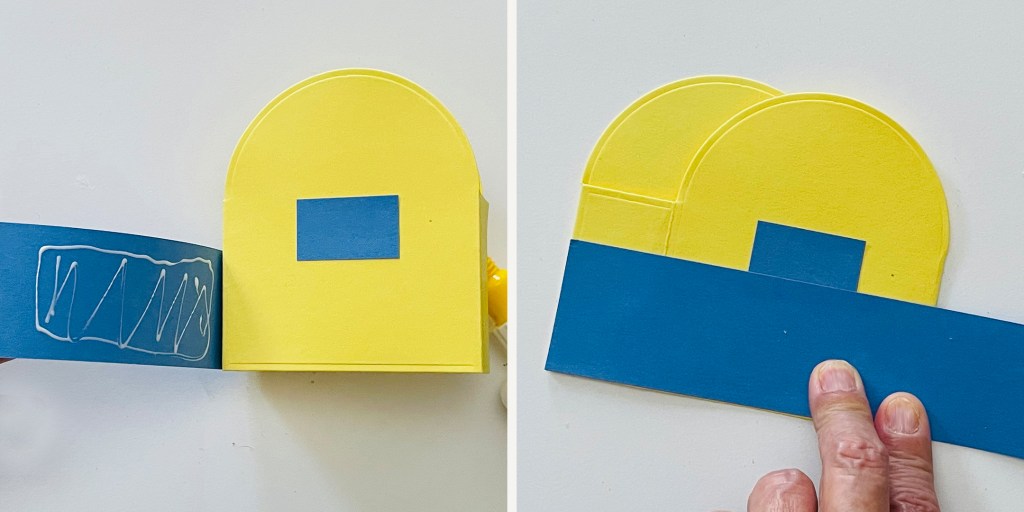
Place the blue pants shape along the bottom of the yellow shape. Do not adhere yet. Adhere the smaller blue bib shape in the center, behind and above the top of the blue pants.
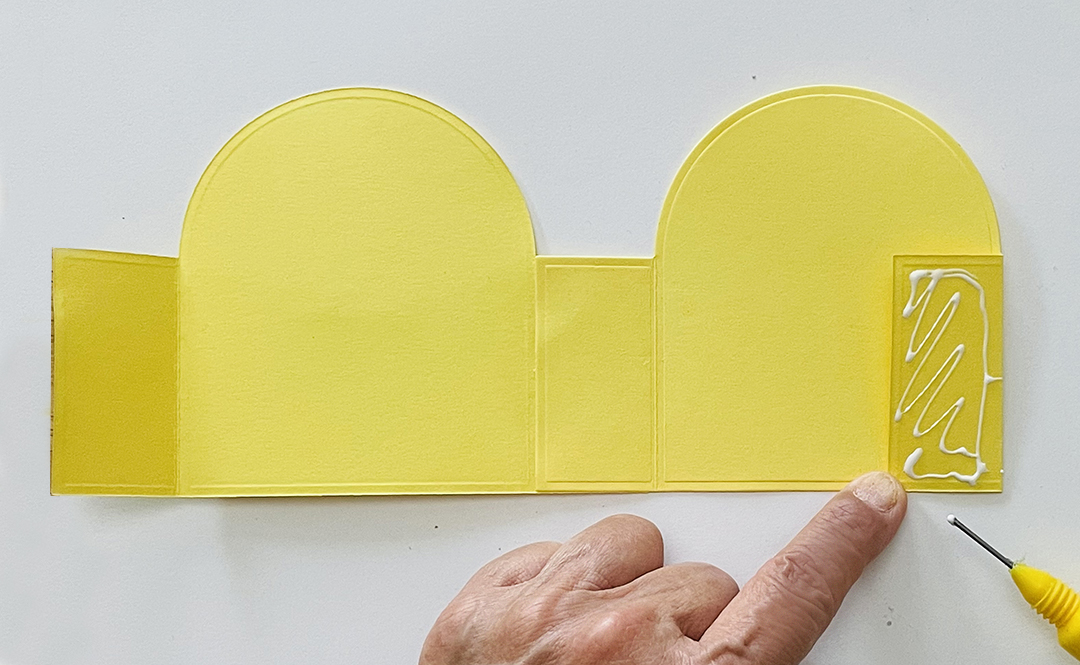
Apply adhesive to the left side tab on the back yellow shape and adhere it to the left side tab on the front
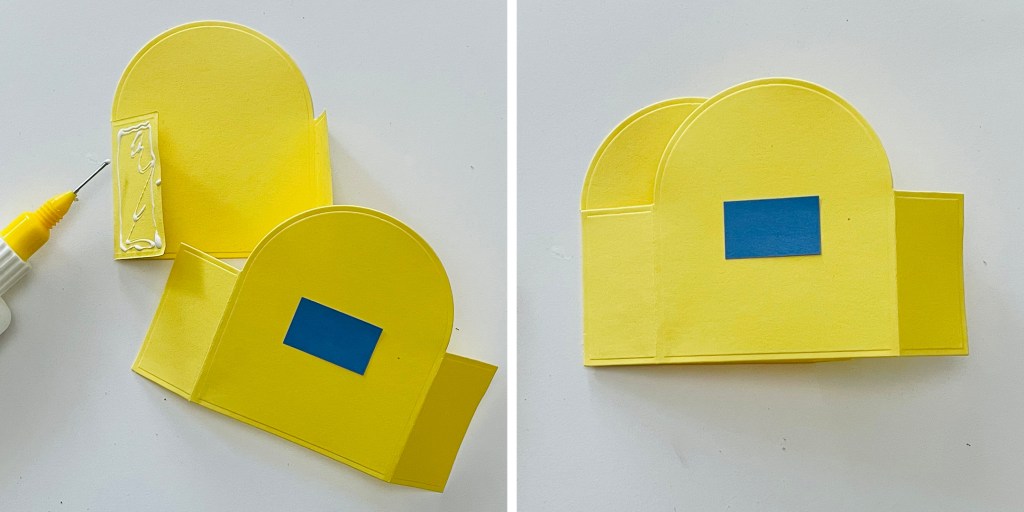
Apply adhesive on the right side tab and adhere it to the front right tab to create an open box
We used a long strip of blue to create the pants but it is easier to cut smaller shapes and adhere on each panel. So please follow the download size guide and adhere the four blue pants shapes on each side.
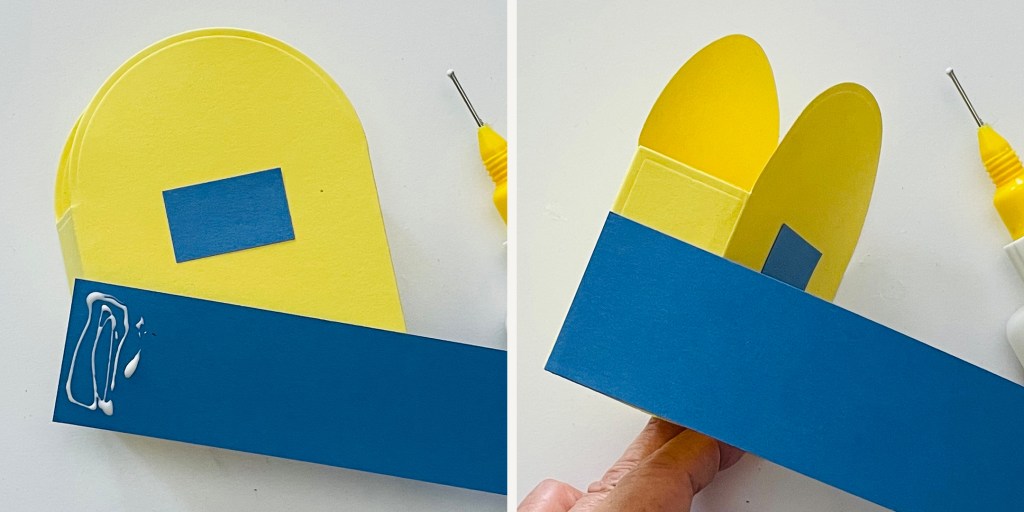
Continue adhering the blue pants to all sides
Adhere the blue straps as shown
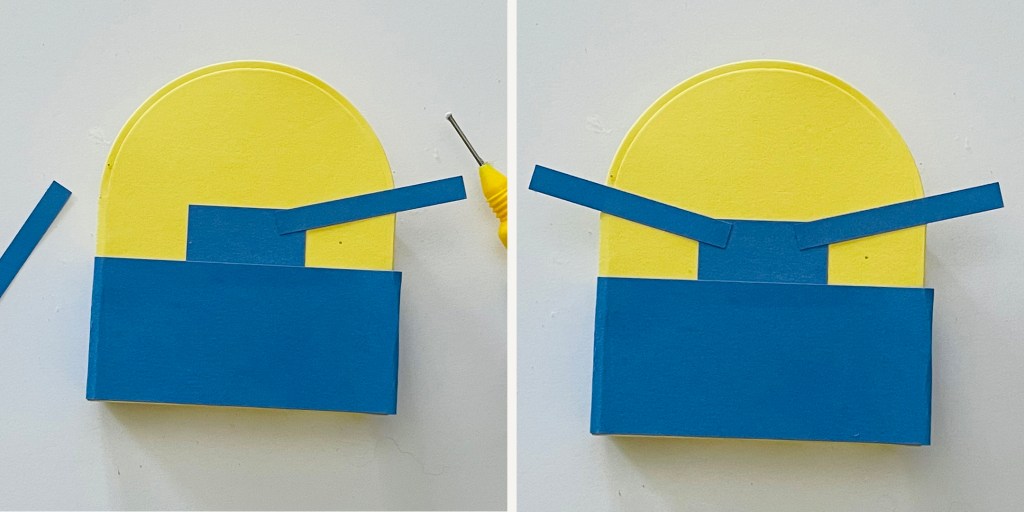
Trim off the excess blue straps
Adhere the blue circles as “buttons” where the straps overlap the bib
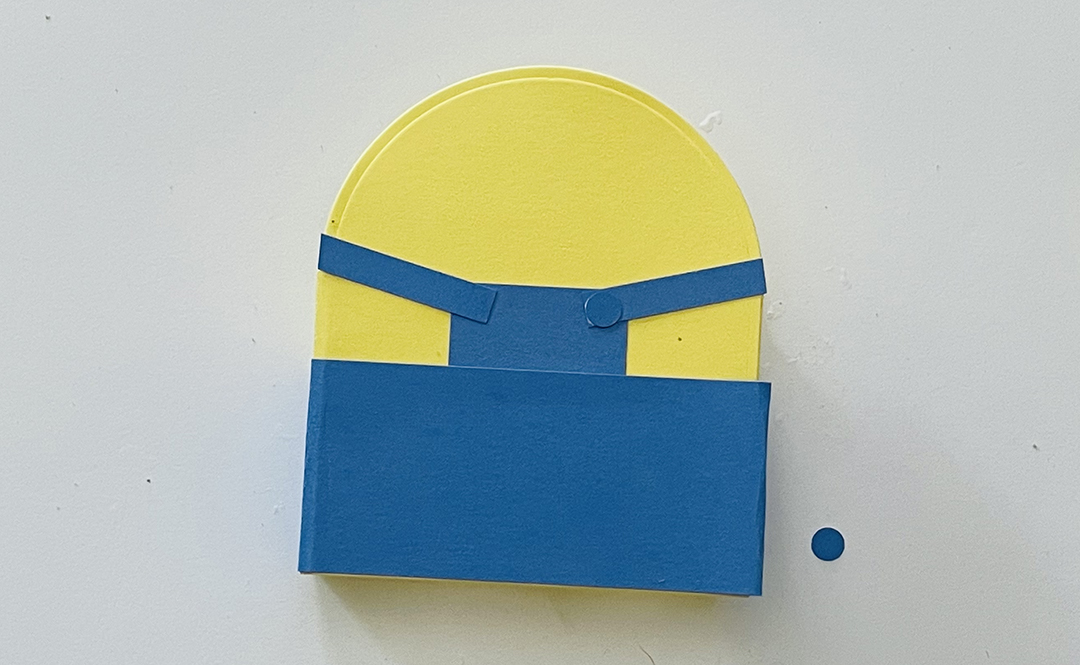
Adhere the gray goggle strip as shown
Assemble the eyes by adhering the 1/4″ brown circle in the middle of the white circle. Adhere the black dot in the middle of the brown circle.
You can add variations to the eyes by die cutting yellow circles to use as eyelids
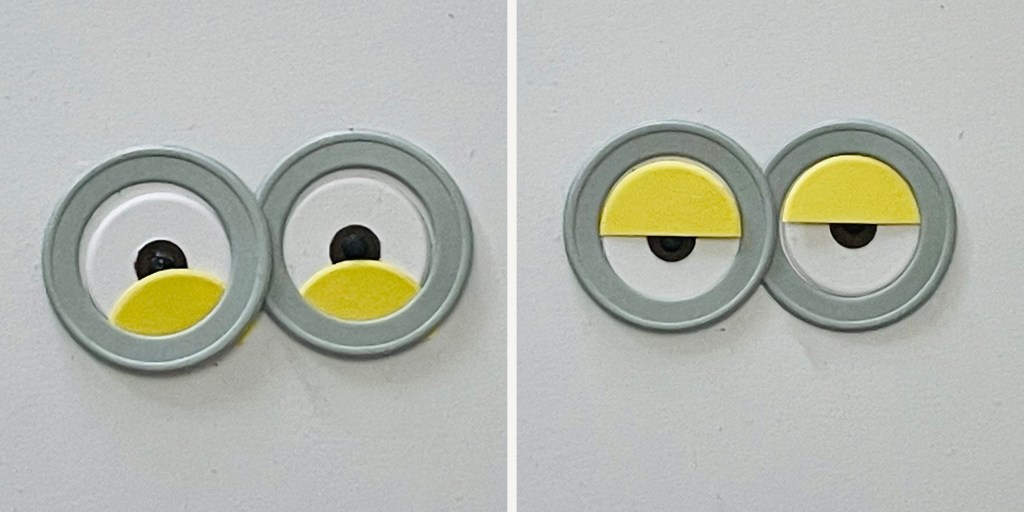
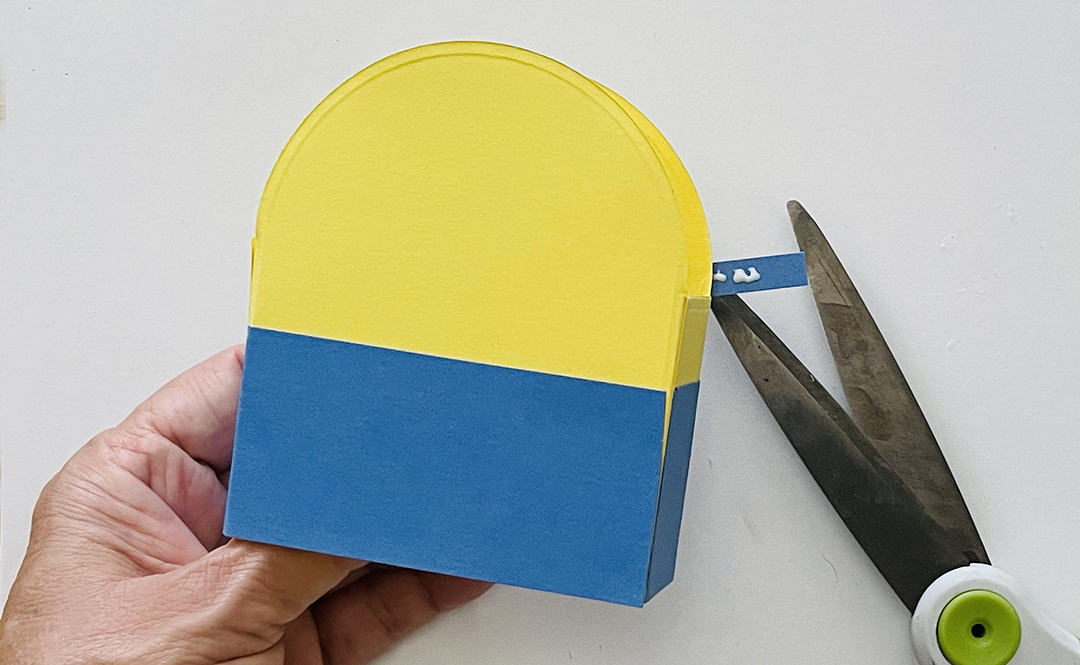
Adhere the goggles as shown. Adhere the eyes inside the goggles. Trim off the two edges of the goggle strap

Use a scoring board to score 1/4″ on all sides of the larger blue rectangle: 3 3/4″ x 1 1/2″. Trim the corners at an angle.
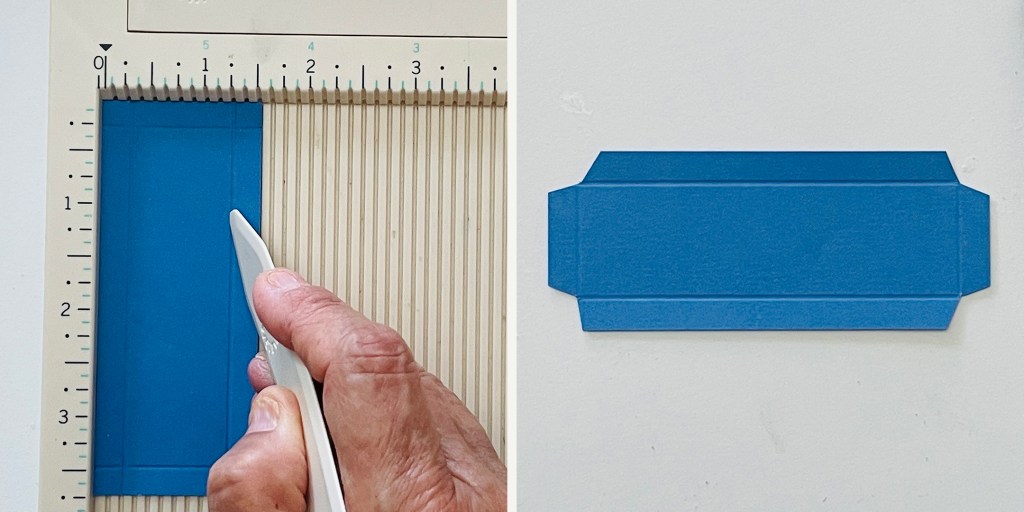
Fold in all four sides. Add adhesive to the edges

Carefully fit the blue bottom and use the i-Press Burnisher to press all sides to complete

FINISHED
You can also make some taller by attaching the blue pants lower on the yellow box. Check out the video at the top for details.
There are a lot of variations you can add to these characters. Try making one eye, or eyes looking to the side, and add funny eyelids. These are sure to please the little minions in your life.


Leave a comment