
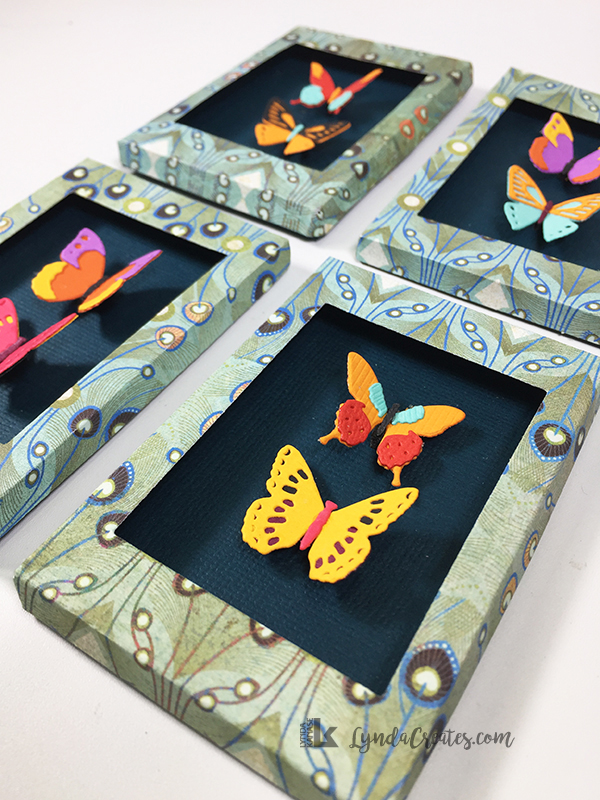
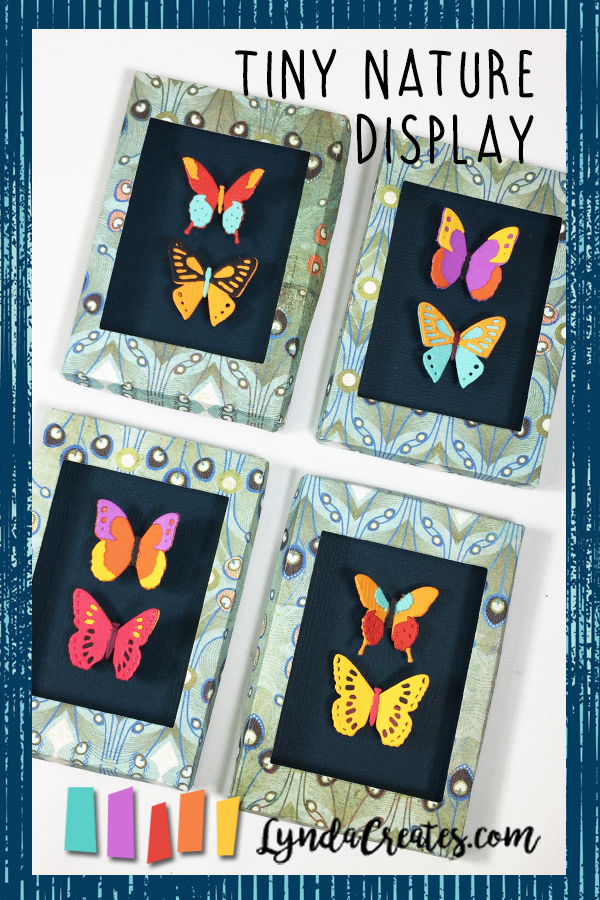
I created mini shadow boxes to display my colorful butterfly collection. I started by die cutting and assembling three each of four different butterfly dies. I kept the colors to a certain palette but mixed and matched the colorful shapes. I ended up not liking the darker, maroon color {it was a dark purple but ended up looking maroon} so I didn’t use those.

To make the shadow boxes, I used my Photo Shaker Box die and placed the window insert in the center of the box front. I used washi tape to hold it in place and then ran it through my die cutting machine.
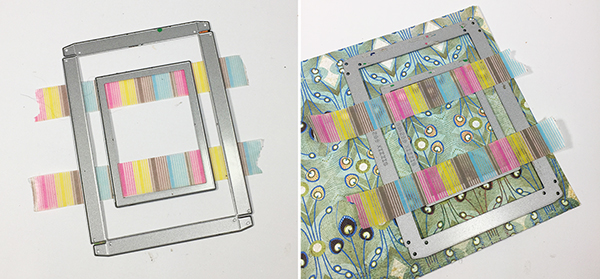
I used the same outer die but without the inner rectangle to die cut the back of the boxes. I die cut four fronts and four backs.
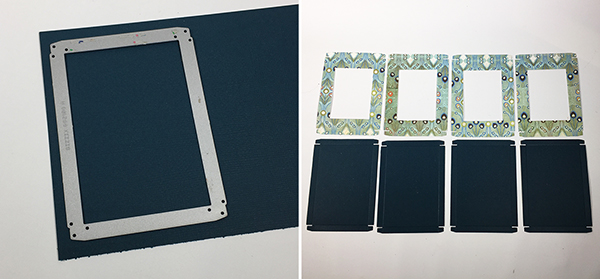
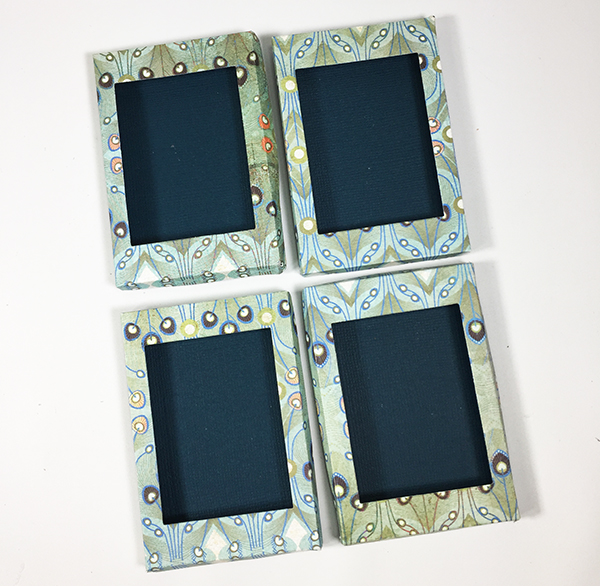
I folded and adhered all of the tabs to create the fronts and backs of the boxes which were then ready for the butterflies.
Before adhering the butterflies, I first played with their arrangement. I cut a very thin strip of black foam adhesive and used that to adhere the butterflies into the shadow boxes.
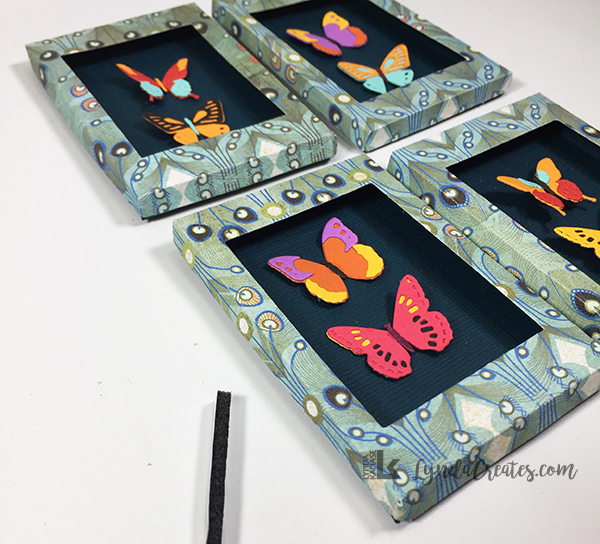
After adhering the butterflies, I gently lifted their wings to add more dimension to their shapes inside the shadow boxes.
I hope you enjoyed the diverse way the designers showcased the Tiny Nature bugs and plants. There is just so many ways you can play with these little designs so I hope you are inspired. Thank you for visiting.
Sizzix Products Used


Leave a comment