
Even if you don’t like bugs, you will probably like these cute, tiny, die cut paper insects especially when you see all of the fun things that my Design Team has created with this die.
Amanda – Pear Blossom Press
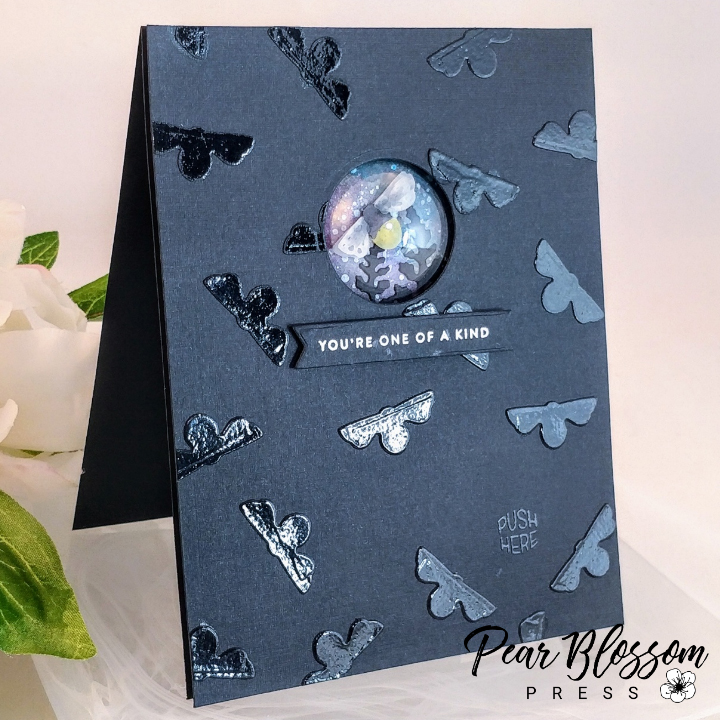
Amanda has created a card with a mystical atmosphere. The firefly actually lights up! And if that wasn’t amazing enough, there is a beautiful night sky, clear dome and tone-on-tone bugs flying about. Check out this video and visit her blog for a full tutorial HERE.
Karen – Painted Mountain Cards
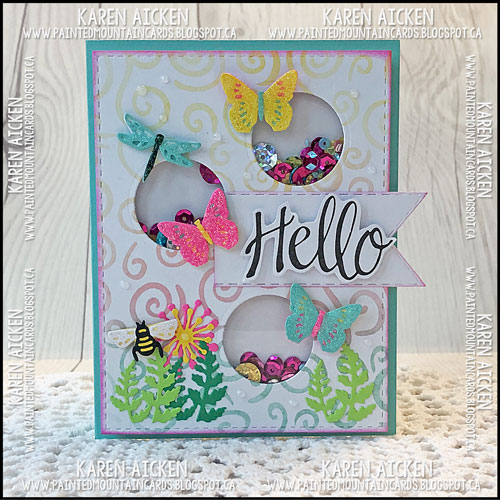
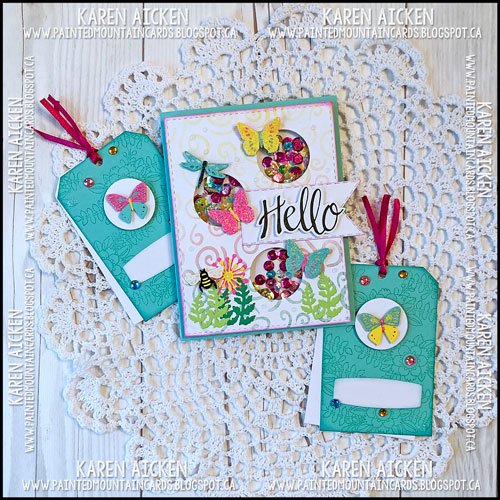
Karen’s card and tags are so bright and cheery! I love how she made the insects as diverse and colorful as Nature makes them. The circle die is designed to cut an opening the perfect size to fit all of the insects and plants but Karen used them to create some shaker card openings. Love this! Check out her tutorial HERE.
Daniela – The Art Life of Daniela Costa

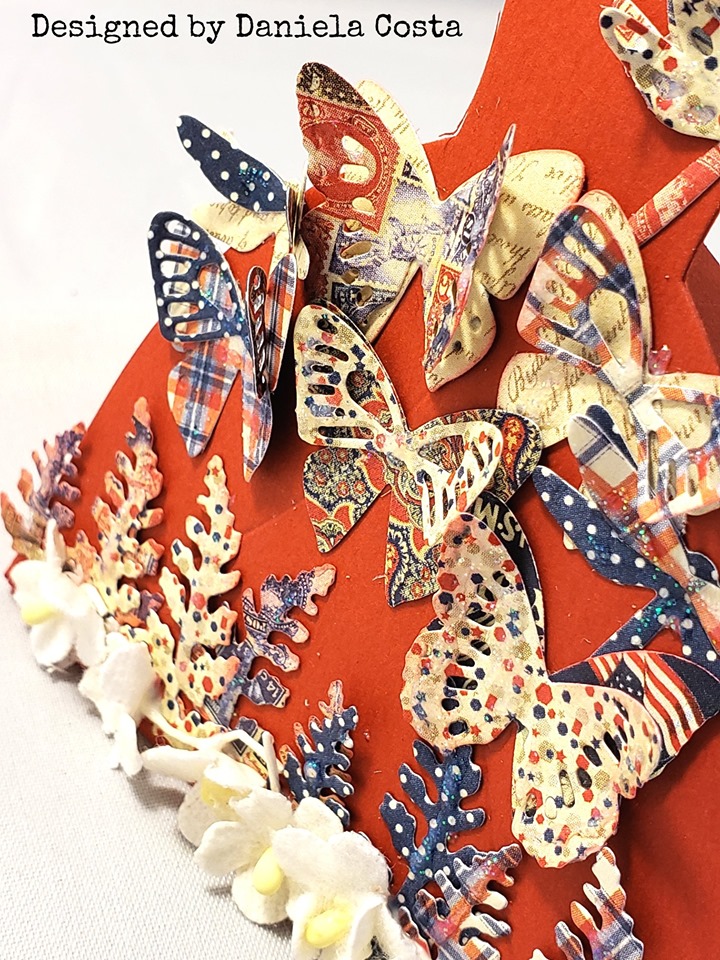
Daniela created a summery, patriotic theme combining the tiny butterflies, dragonflies and fern leaves together with my dress die and patriotic papers. I love how she combined the small scale of the insects with the small scale of the paper patterns so that it all works together so beautifully. Check out her full tutorial HERE.
Mitsyana – Up On Tippytoes
Mitsyana is on vacation this month so we wish her a great time and we’ll see her back here next month.
Pam – Pam Bray Designs
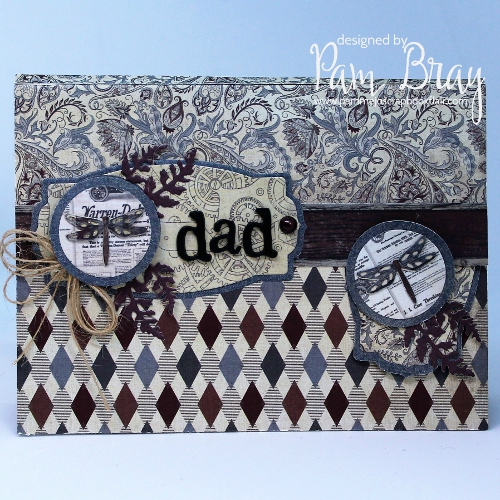
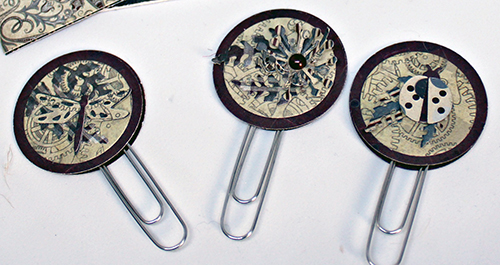
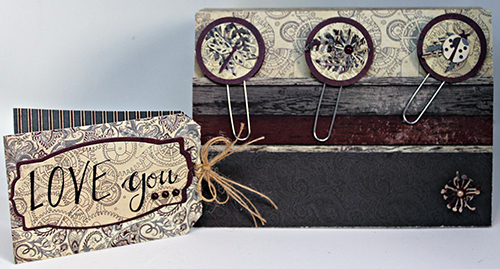
Pam did an amazing Father’s Day card using the dragonfly and fern dies in masculine colors. Everything works so perfectly together in this card. But she didn’t stop there, she used the dies to create paper clip embellishments and a tag. And everything has that gorgeous masculine feel. See how she made this HERE.
Lynda – That’s me!

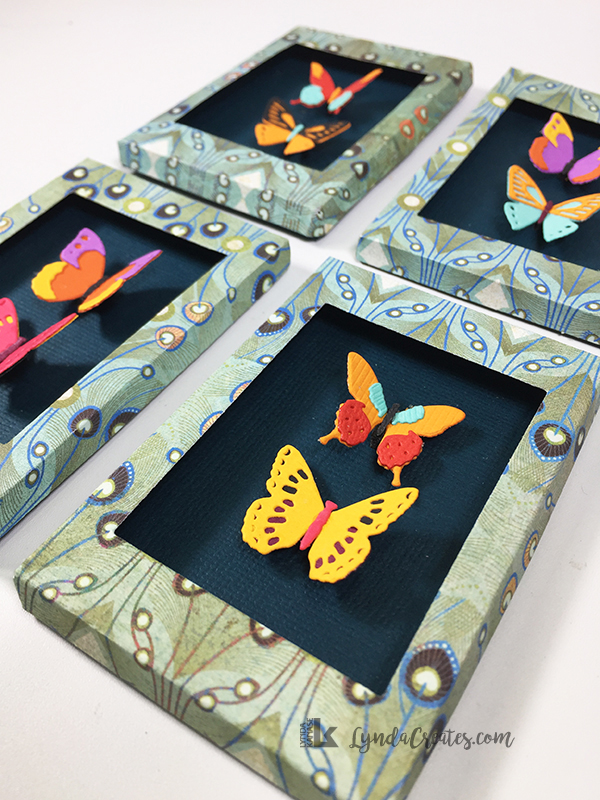
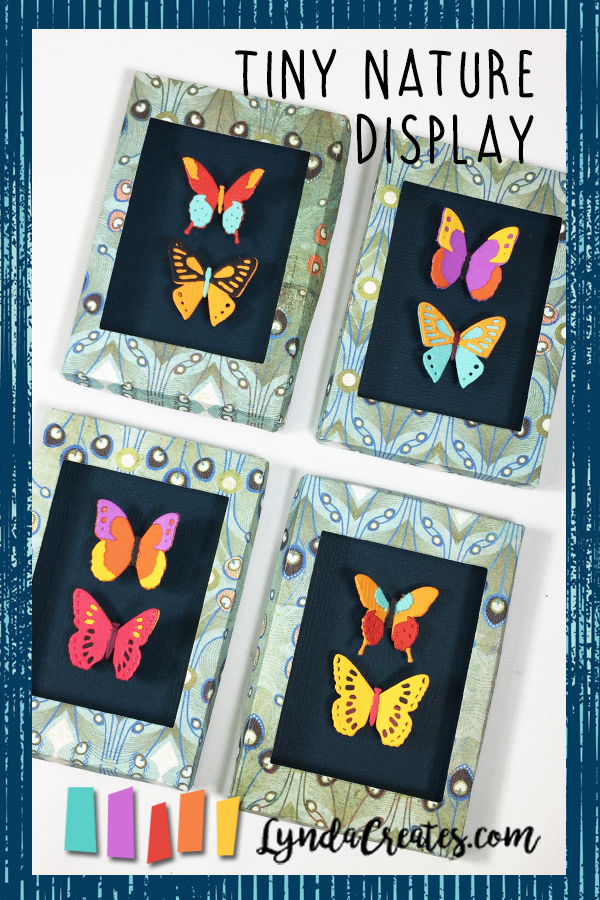
I created mini shadow boxes to display my colorful butterfly collection. I started by die cutting and assembling three each of four different butterfly dies. I kept the colors to a certain palette but mixed and matched the colorful shapes. I ended up not liking the darker, maroon color {it was a dark purple but ended up looking maroon} so I didn’t use those.

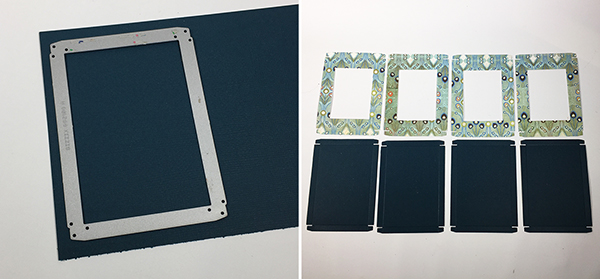
To make the shadow boxes, I used my Photo Shaker Box die and placed the window insert in the center of the box front. I used washi tape to hold it in place and then ran it through my die cutting machine.
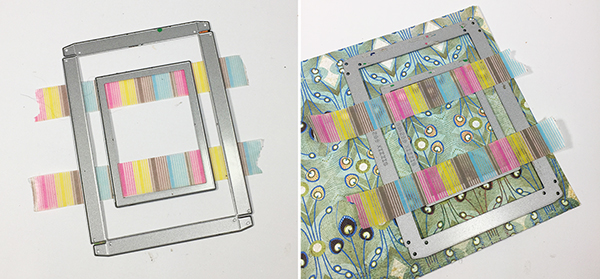
I used the same outer die but without the inner rectangle to die cut the back of the boxes. I die cut four fronts and four backs.
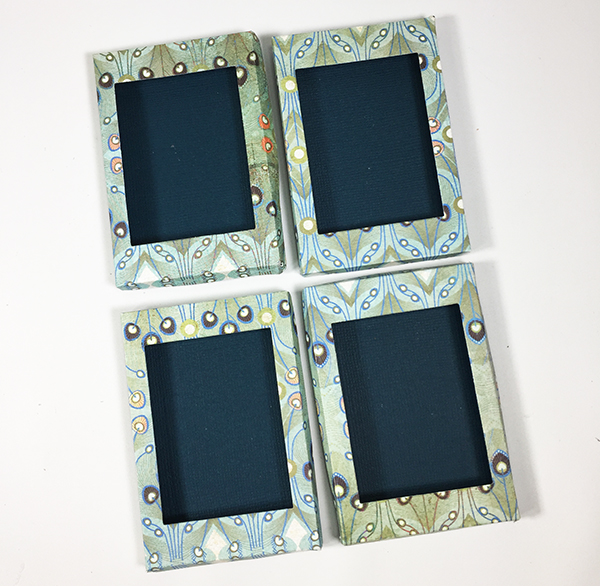
I folded and adhered all of the tabs to create the fronts and backs of the boxes which were then ready for the butterflies.
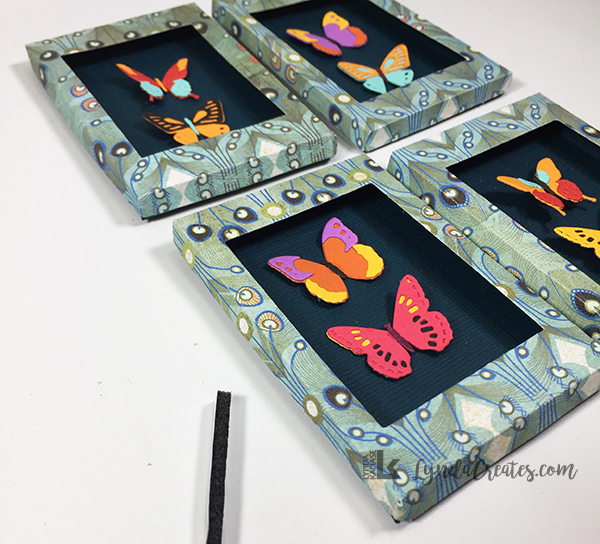
Before adhering the butterflies, I first played with their arrangement. I cut a very thin strip of black foam adhesive and used that to adhere the butterflies into the shadow boxes.
After adhering the butterflies, I gently lifted their wings to add more dimension to their shapes inside the shadow boxes.
I hope you enjoyed the diverse way the designers showcased the Tiny Nature bugs and plants. There is just so many ways you can play with these little designs so I hope you are inspired and check out all of the designer’s websites for tutorials. Thank you for visiting.
Shop Lynda’s Project

Affiliate Links: By clicking on and purchasing through my links, a small portion of the sale price goes towards supporting this site at no additional cost to you. Thank you for your support.


Leave a comment