
I was so excited to be asked to participate in a MEGA blog hop using the new Power Pack Kit by Pearblossom Press. The Power Pack is a tiny switch with a battery that lights up small LED stickers to add lights to a card or other projects.

With so many possible applications, it took some time but I decided to make something sparkly like fireworks over a magic castle. I started with a 5″ x 5″ piece of dark blue card stock and the dandelion die from my Tiny Nature die set by Sizzix. As I was designing this die I kept thinking that it could be used as fireworks so here it is! I die cut from the back of the card stock to avoid the natural metal imprint appearing in the final design. I started with the 5″ x 5″ card stock because I wanted to give myself room later to rotate the die cut piece to position the fireworks where I wanted them.
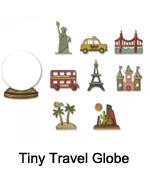
I die cut a castle shape from the Tiny Travel Globe die set by Tim Holtz and used it to determine the placement of the fireworks. Next, I used the oval die from my Journaling Cards die set as a template and drew a pencil line about 1/4″ away from the edge of the die.
I cut out the dark blue oval shape and set it aside. For the lighter blue card front, I trimmed a piece of card stock to 3 3/4″ x 5″ and used the same oval die to die cut the opening. The top of the oval window is 1/2″ from the top of the rectangle.
I adhered the dark blue oval to the back of the card front. The white card base is folded to 4 1/4″ x 5 1/2″. Here you can see the Power Pack Kit. It comes with 3 power packs, batteries, copper tape and 3 LED stickers for $15.99 USD. I only used one Power Pack battery and two LEDs for my project.
UPDATE: Pearblossom Press now makes the E-Z Lights which is even more easy to use than the original Power Pack Kit. You can skip parts of the following three steps using the new E-Z Lights.
I positioned the blue card front on the white card base and marked where the LED stickers and Power Pack will be placed. I also marked the positive and negative sides of the Power Pack. You can see a little + and – on the triangle LED stickers as well. I used red tape to securely hold the Power Pack to my card front.
Once the Power Pack was secured, I drew a line to indicate where to run my copper wire. Remember, positive to positive and negative to negative and that little rectangle to the side of the LED is a resistor so don’t let your copper tape touch that. Now I’m ready to lay some copper tape!
Tips: Make sure the copper tape has good contact everywhere. Keep the path of the tape as short as possible. The LED stickers can go on top of or below the tape but I had better luck placing the LEDs on top of the tape as shown. Yay! It works!
Now to finish off the card front; I adhered a small piece of clear acetate behind the fireworks and added a drop of Alcohol Ink in Cranberry and Sunshine Yellow. I didn’t cover the entire area with color so that the edges would shine clear when finished.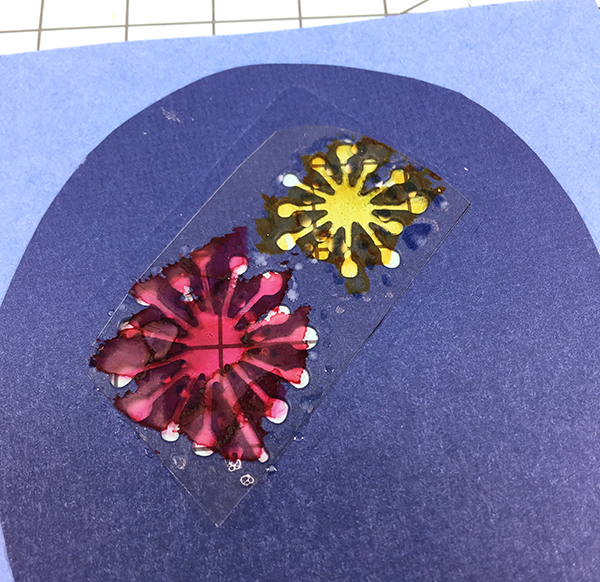
I recommend using the World’s Best Foam Tape from Pearblossom Press behind the card front. The foam adhesive works perfectly to raise the card front above the Power Pack button. I adhered the card front to the card base being careful to align the LEDs behind the fireworks.
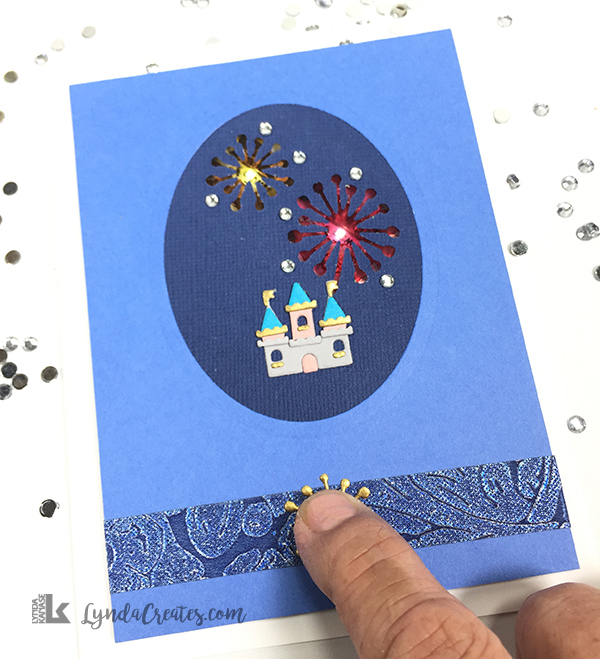
I made the tiny castle using gray, pink, aqua and gold card stock and adhered it in place on the card front. I added rhinestones for additional sparkle. To indicate where to press the button, I placed a piece of shiny washi tape and adhered another firework out of gold card stock to mark the button.
Visit Pearblossom Press HERE to purchase your own E-Z Lights and World’s Best Foam Tape.
And if you want more detailed wiring instructions visit Amanda’s tutorial HERE.
Hope you enjoyed this light up card. Please visit all of the Power Pack MEGA blog hop participants below to see the spark of magic in these lights.
Products Used
Affiliate Links: By clicking on and purchasing through my links, a small portion of the sale price goes towards supporting this site at no additional cost to you. Thank you for your support.


Leave a comment