
Welcome to the Designer Crafts Connection blog hop sponsored by Etchall. The Beginners Etching Kit was provided by Etchall but all opinions are my own. There will also be a discount offer available at the DCC website. Having never used this product before, I was pleasantly surprised at how easy and effective this product was to create impressive results.
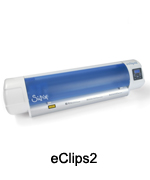
To create this project, I first designed a template {PDF link below} and cut it out on vinyl using my eClips2 by Sizzix. I rotated the image because the size of the vinyl fit through the eClips vertically.

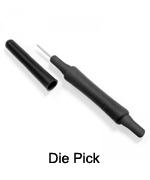
Once the vinyl is cut you will need to pick away all of the pieces that you want to be etched in your final project. Everything seen in white below will be etched when exposed to the creme. When carefully picking away the pieces, make sure to leave the centers of the letters in place such as the centers of the “a” and “d”.
Below, the vinyl stencil with all of the exposed areas appearing as white.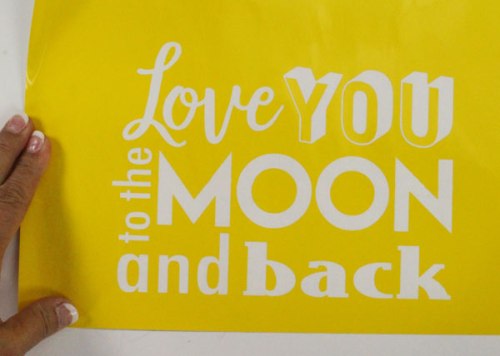
Once all of the pieces are picked away on the vinyl, make sure all of the remaining vinyl pieces are adhered well to the backing. Next, you will need to apply the Transfer Sheet. This looks like a frosted adhesive sheet. Starting on the left side of the Transfer Sheet, peel off about two inches of the backing and carefully start to adhere this to the left side of the vinyl stencil. Carefully work your way across, peeling a few inches of the backing and adhering it slowly to avoid wrinkles.

Once the Transfer Sheet is completely adhered, use the Etchall Squeegee and rub across the Transfer Sheet to make sure all of the vinyl stencil is adhered to the Transfer Sheet.
Next, carefully remove the vinyl backing sheet. Everything should now stick to the Transfer Sheet. I suggest that you slowly roll the backing away, keeping it flat to the vinyl. If you notice any vinyl pieces lifting off, press the vinyl back down so that it sticks to the Transfer Sheet instead of the backing. Move slowly across the entire stencil until the backing is completely removed.
The vinyl stencil should now appear backwards with the sticky side up.
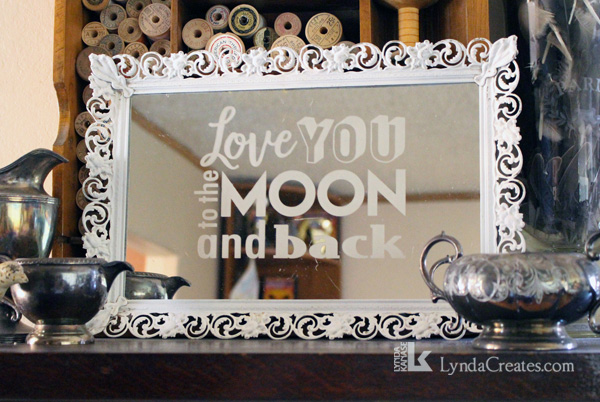
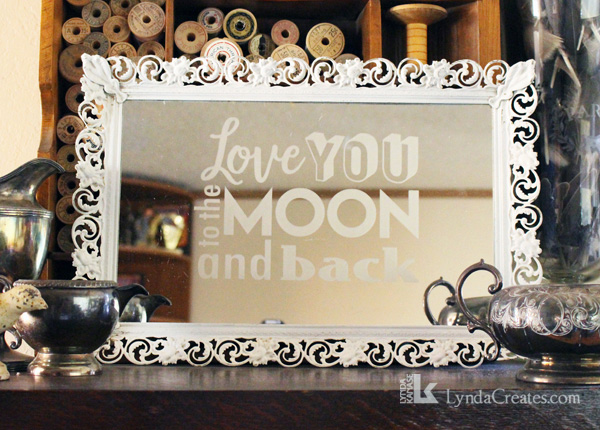
For this project, I used a vintage mirror tray with intricate metal edges. The mirror wasn’t perfect but I thought it would be a great way to upcycle this vintage find. I also chose this mirror tray because I could easily remove the mirror from the frame. {To avoid a photo of my camera, I angled the shot and got the reflectors instead}
I removed the mirror from the frame and cleaned it using water. I centered the stencil on the mirror.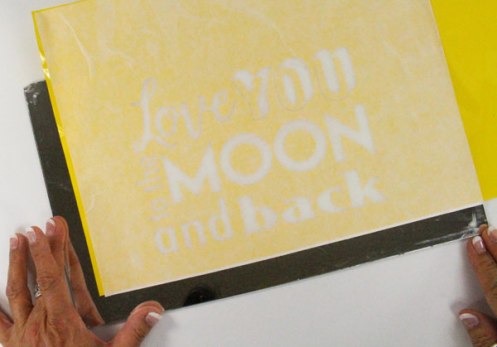
Use the Etchall burnisher to make sure all of the vinyl stencil adheres securely to the mirror.
Carefully remove the Transfer Sheet backing. Again, do this slowly, making sure all of the vinyl stays on the mirror.
Earlier, when I adhered the stencil on the mirror, I had some exposed mirror on the bottom and on the left side. To protect these areas, I trimmed the excess vinyl from the top and right sides and reapplied them to cover the exposed mirror before applying the etching creme.
I placed a protective cover on my work surface then applied the Etchall Creme. I poured the creme around the edges of the exposed areas keeping it on the vinyl stencil until I had most of the creme completely around the edges. This is recommended so that one area doesn’t start etching longer than others. This allows for a more even finish. Remember, using more is better than not using enough of the creme and it is reusable.
Next, I used the Etchall squeegee to start gently pulling the creme across the exposed areas. It was similar to spreading icing on a cake, you don’t want to scrape it, just gently pull it across to cover the entire surface. Then let it sit for 15 minutes.
After 15 minutes, you can gently scrape off the Etchall creme and return the product back into the jar. Wonderful that it is reusable. After most of the Etchall creme is removed, rinse the mirror in water being careful not to rinse it in a sink where the porcelain surface could be damaged by the etching creme. I had a large plastic bucket ready with warm water.
The etched mirror turned out better than I imagined. I love the subtle look of the etching.
I am including a free, downloadable PDF of the stencil art. If you would prefer it as a free SVG file, please email me at LyndaCreates@cox.net. It is for personal use only and may not be used to create items for resale.
Love_you_to_the_moon_stencil_LyndaCreates
Please visit the designers at Designer Crafts Connection to see all of the great ideas for using Etchall Creme.
This is Linked to:
A Delightsome Life, Artsy Fartsy Mama, Crafts a la Mode, Create With Joy, Creating My Way to Success, Cupcakes and Crinoline, Designer Crafts Connection, Feeding Big, Flamingo Toes, Katherines Corner, Live Randomly Simple, Lou Lou Girls, Mad in Crafts, Mom Home Guide, My Uncommon Slice of Suburbia, Our Daily Craft, Our Hopeful Home, Piece Pastimes, Scrapality, Simple Life of a Fire Wife, The Answer is Chocolate, The Crafty Blog Stalker and Twelve on Main
![]()


Affiliate Links: By clicking on and purchasing through my links, a small portion of the sale price goes towards supporting this site at no additional cost to you. Thank you for your support.


Leave a comment