
Welcome to the Designer Crafts Connection November Sponsored Blog Hop featuring Rinea Paper Foil products by GlobalCrafting. Enter to win a giveaway prize on the DCC blog by leaving a comment on my post and using the Rafflecopter widget on the DCC blog post. The paper foil product was supplied by the manufacturer but all opinions are my own.
This foil paper was exactly what I needed to highlight the details of my two new Sizzix 3D Embossing Folders, Woven and Leaves.
![]()
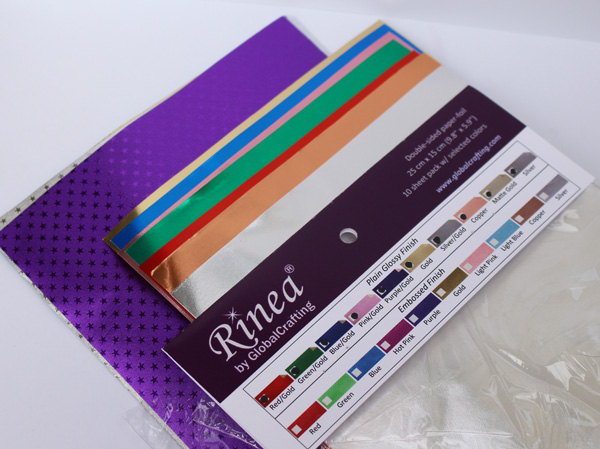
I received two different paper foils in either two-sided solid colors or star-embossed colors. The colors are beautiful which made working with this material so much fun. I started by applying Xyron adhesive to a plain sheet of copy paper and adhering this to the paper foil. This allowed the paper foil to better maintain the texture after running it through the extra deep 3D embossing folder.
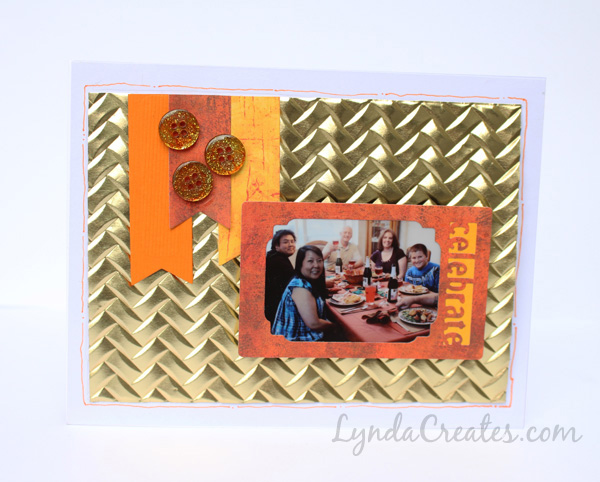
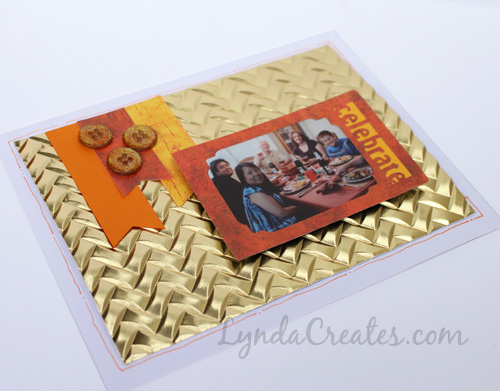
For the Woven card, I used the gold Rinea paper foil and the Sizzix 3D Textured Impression embossing folder, Woven to create the background. The depth and detail are stunning when used on metallic paper and this foil handled it perfectly.
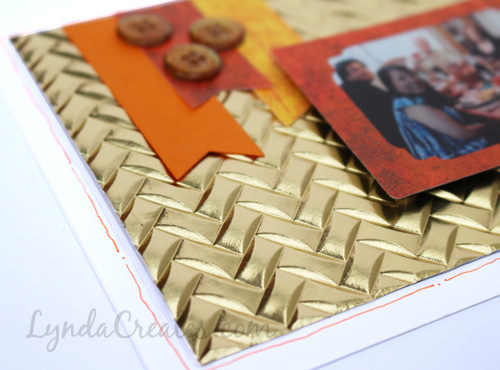
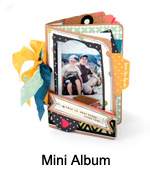
For the embellishments, I used a Fujifilm Instax Mini 8 photo with a Photo Frame, Holidays die and words plus small flags from the Mini Album set.

The buttons are actually the glittery clear buttons from The Stamps of Life. I used Alcohol Ink to match the color of my Autumn card. Here’s a before and after shot of the buttons.
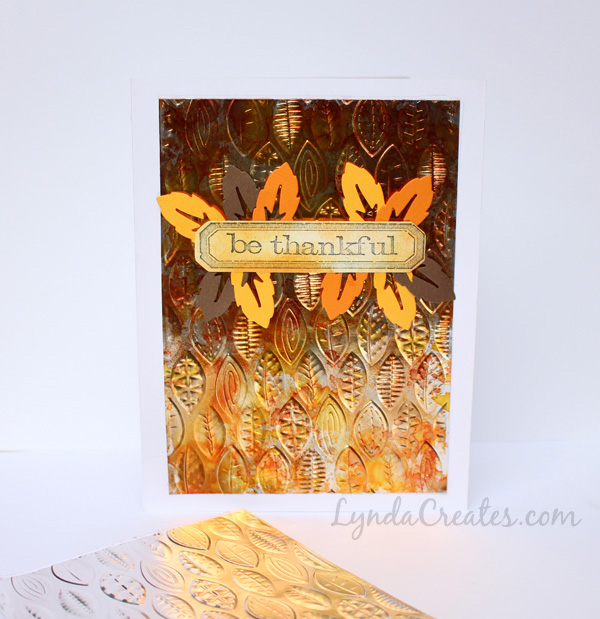
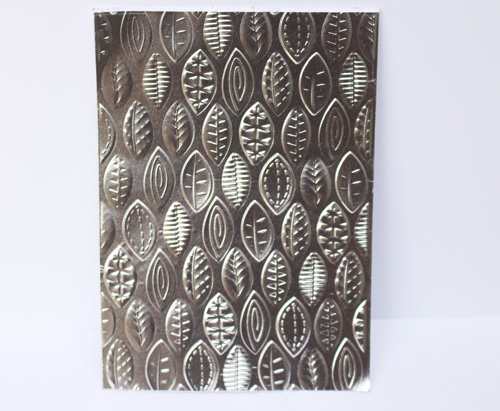
I had so much fun with the first card, I decided to make another sample. This time I used the silver paper foil and backed it with plain copier paper like before.
Because Leaves was the very first 3D Textured Impressions embossing folder designed for Sizzix, I had experimented with various patterns and textures just to test the capabilities of this process.
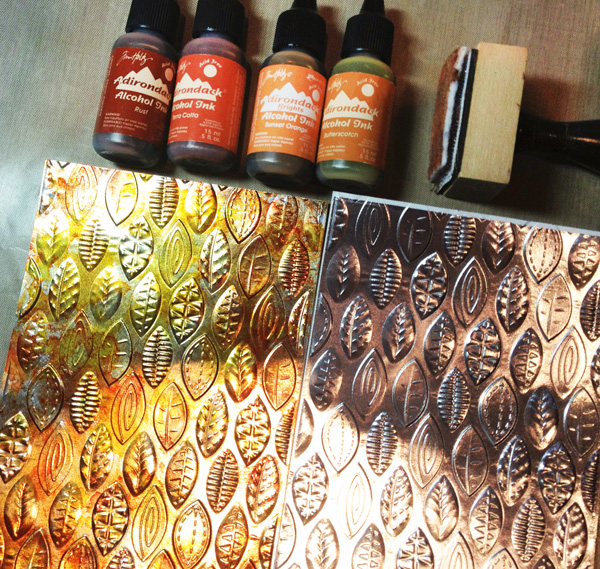
I used Alcohol Inks to add Autumn colors {left} to the silver foil {right}.
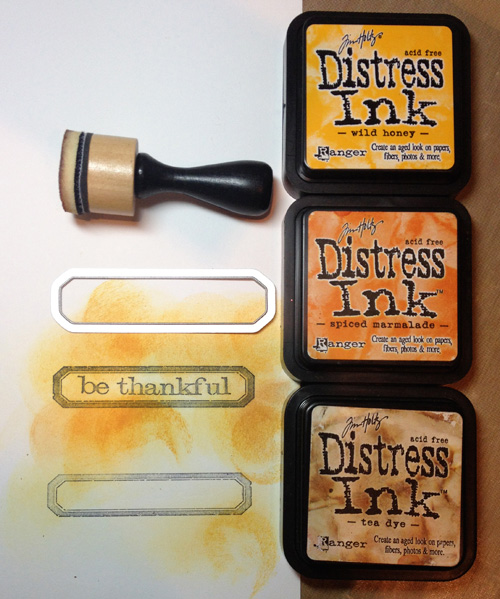
Using the stamp and Framelits Acorn Blueprint set by Tim Holtz, I first stamped the phrase and border on a piece of white cardstock using Stazon black ink. I added Autumn colored Distress Ink before die cutting the shape.
I die cut the orange and brown leaves out of colored cardstock using the leaf die from my Photo Banner set. I adhered these leaves around the edge of the phrase piece then placed it on the front of the embossed surface above.
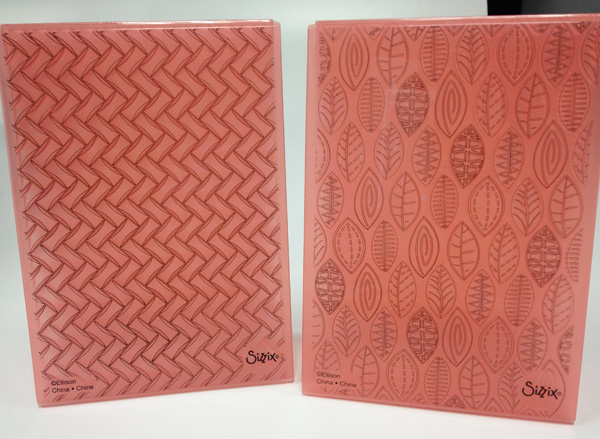
These are my two new 3D Textured Impressions embossing folders. They both worked so well with the Rinea paper foil.
Hope you enjoy these projects. The Rinea paper foil would work perfectly with standard embossing folders but they really held up well with the 3D embossing folders. I’m already planning some Christmas projects using this foil.
Don’t forget to leave a comment below and visit the DCC blog and enter the giveaway using the Rafflecopter widget. Please click through the Blog Hop and check out the other fun projects by the talented team from the Designer Crafts Connection.
Affiliate Links: By clicking on and purchasing through my links, a small portion of the sale price goes towards supporting this site at no additional cost to you. Thank you for your support.


This is Linked to:
Blogghetti, Denise Designed, DIY Showoff, I Should be Mopping the Floor, Mom Home Guide, Nifty Thrifty Things, Recreated Design and Sew Can Do


Leave a comment