
Welcome to the Designer Craft Connection March Blog Linkup. The theme is Popular Posts. I decided to do a new post about DIY Home Decor because it is such a popular topic.

I created giant typewriter keys using the metal lids from frozen apple juice cans. I am always looking for ways to recycle elements and I wanted to find something that I could make out of these can lids.
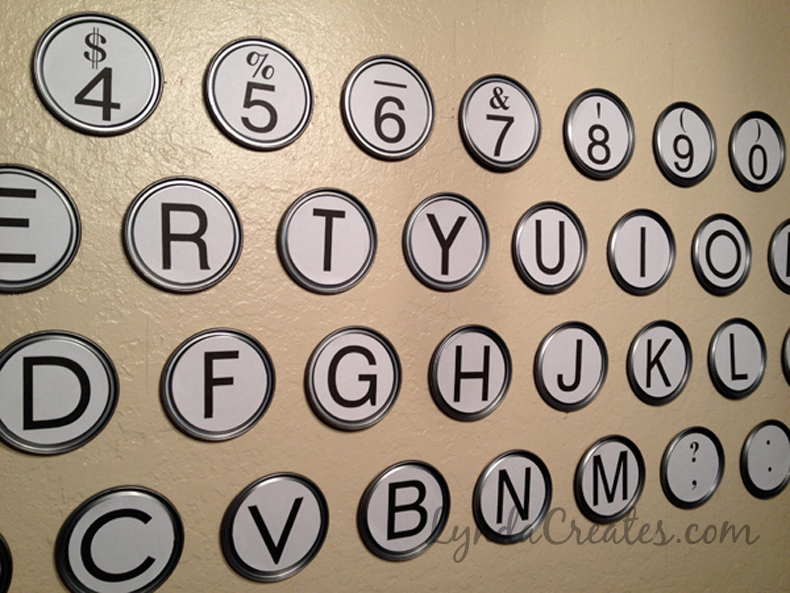
This a closer view of some of the keys. The alphabets are based on the keys from my old Remington No. 5 typewriter. I included two PDF documents that contain printables of all of these keys plus layout instructions for mounting to a wall.
Typewriter_keys_Instructions
Typewriter_keys
The hardest part of this project might be to actually drink and save 47 frozen apple juice or orange juice can lids. Luckily my son was a willing participant in this part of my project.
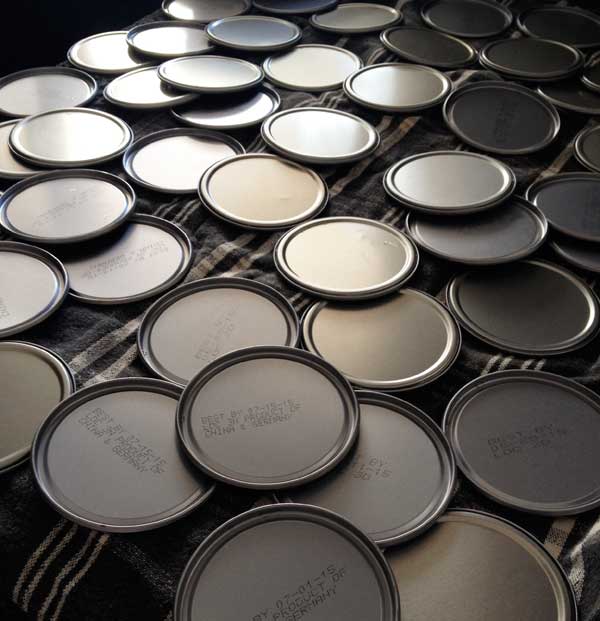
Wash and dry the lids.
After you have collected all of the lids, print out the typewriter keys and follow these steps:
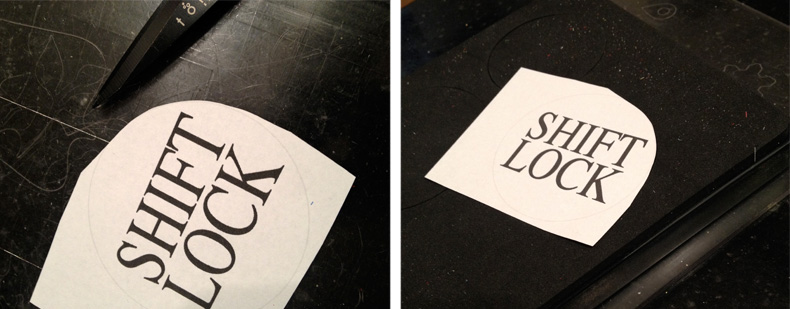 You will need to cut each key art into a 2 1/4″ diameter circle. The Sizzix Bigz Die, Circles
 worked perfectly. The printable PDF sheet has a light grey circle around each key art to use as a guide. I hand trimmed about a fourth of the circle’s diameter to use as a guide {left image}. I aligned this to the edge of the 2 1/4″ circle on the die {right image} and used my BigShot machine to cut out a perfect circle. Repeat this on all printed key art.

After all of the keys are die cut, use either a repositionable adhesive sheet {no longer available from Sizzix but I happened to have some because I am a craft hoarder} or a repositionable spray adhesive.
Center the printed key art in the middle of the metal juice lid with the raised ridge upwards. I suggest using repositionable adhesive because it may take several attempts to center the key art in the middle of the can lid.
To mount these to the wall, I used hot glue to attach the head of a flat push pin to the back of each lid. Only use this technique if you don’t mind putting push pins in your wall. Please refer to the attached PDF instructions for placement details.
I hope you enjoyed this project. Please use the blue Follow button in the top right of my post to follow me, you can also sign up to follow via email or follow me on Instagram HERE.
Please use this LINK to return to the Designers Craft Connection Blog Linkup to see more creative ideas.
PRODUCT LINK
Sizzix Bigz Die, Circles

Thrilled to be Featured at:


This is linked to:
A Creative Princess, A Delightsome Life, Adventures of Mel, Artsy Fartsy Mama, Blooming Homestead, Chic on a Shoestring, Cozy Little House, Craft Dictator, Crafts a la Mode, Create With Joy, Creating My Way to Success, Cupcakes and Crinoline, Dear Creatives, Denise Designed, Designer Crafts Connection, DIY Crush, DIY Showoff, Flamingo Toes, Funky Polka Dot Giraffe, Ginger Snap Crafts, Happy Housie, Homework, Intelligent Domestications, Just Us Four, Kammys Korner, Kathe With an E, Katherines Corner, Keeping It Simple, Ladybug Blessings, Lamberts Lately, Life on Lakeshore Drive, Live Laugh Rowe, Live Randomly Simple, LouLou Girls, Mad In Crafts, Mid Michigan Mom, My Uncommon Slice of Suburbia, Pieced Pastimes, Posed Perfection, Sarah Celebrates, Scrapality, Summer Scraps, Tatertots and Jello, The 36th Avenue, The Answer is Chocolate, The Crafting Nook, The DIY Dreamer, The Girl Creative, The Melrose Family, Too Much Time on My Hands, USS Crafty, VMG206 and Wondermom Wannabe


Leave a comment